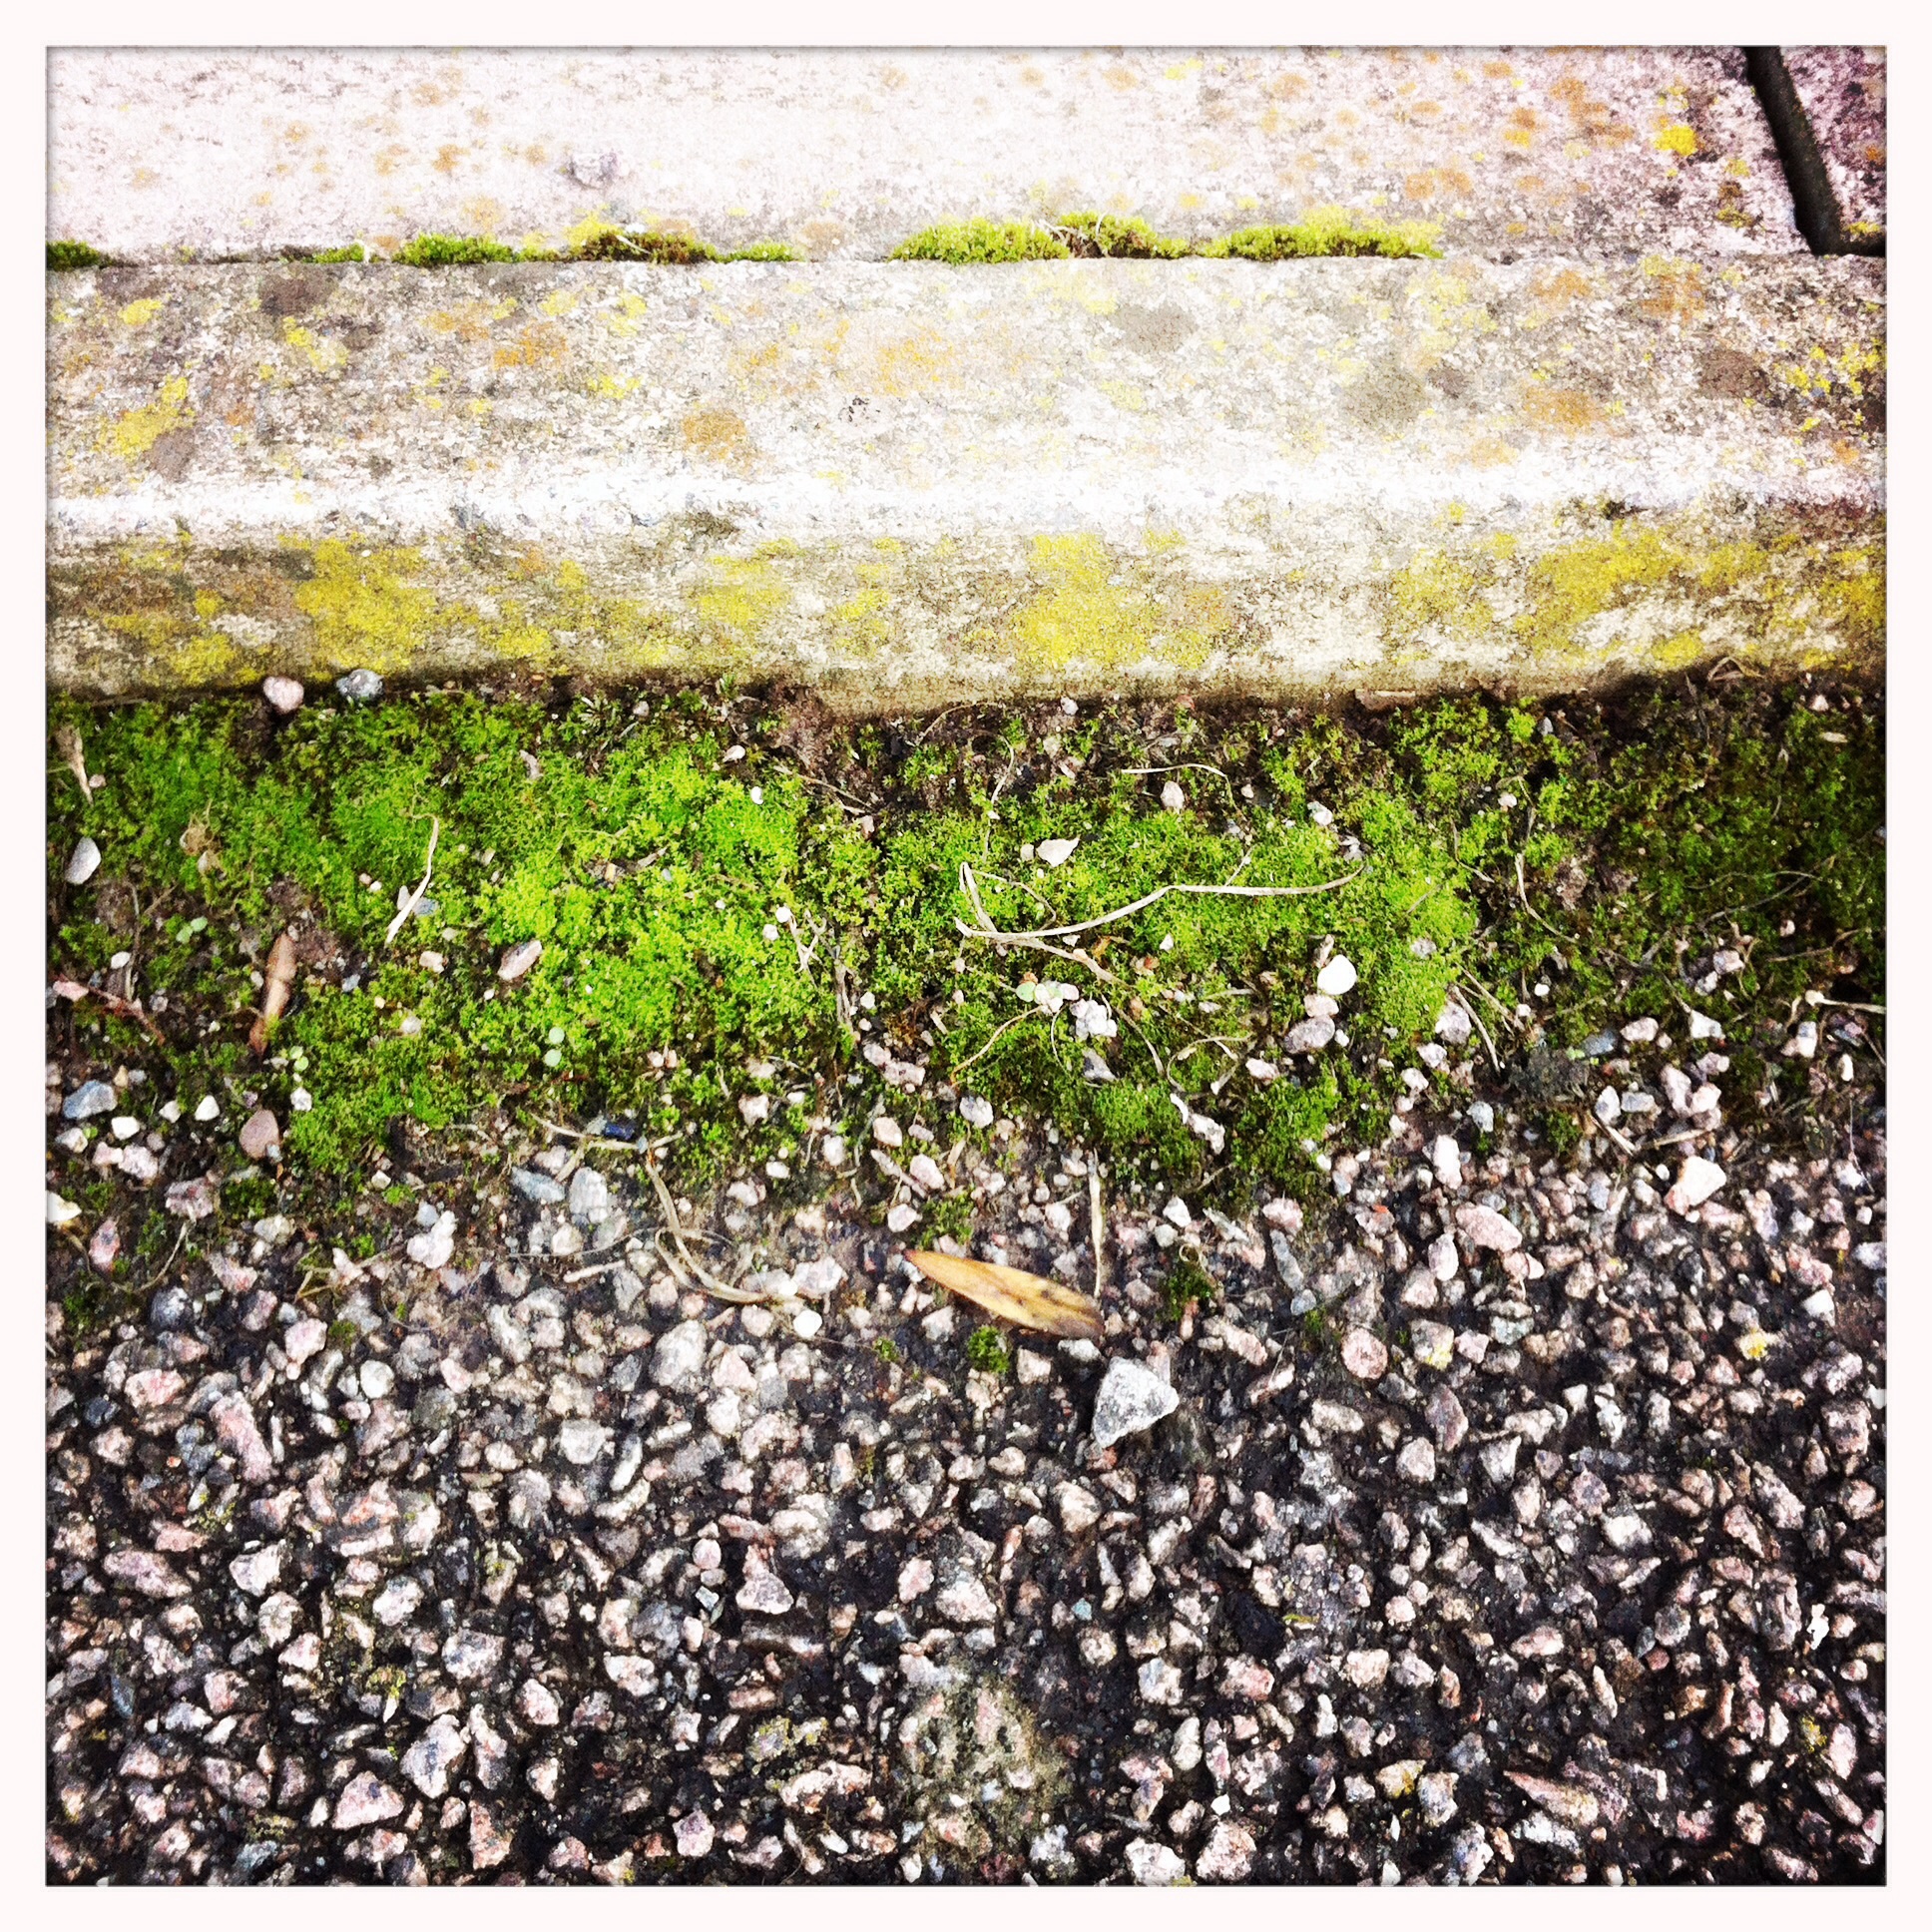
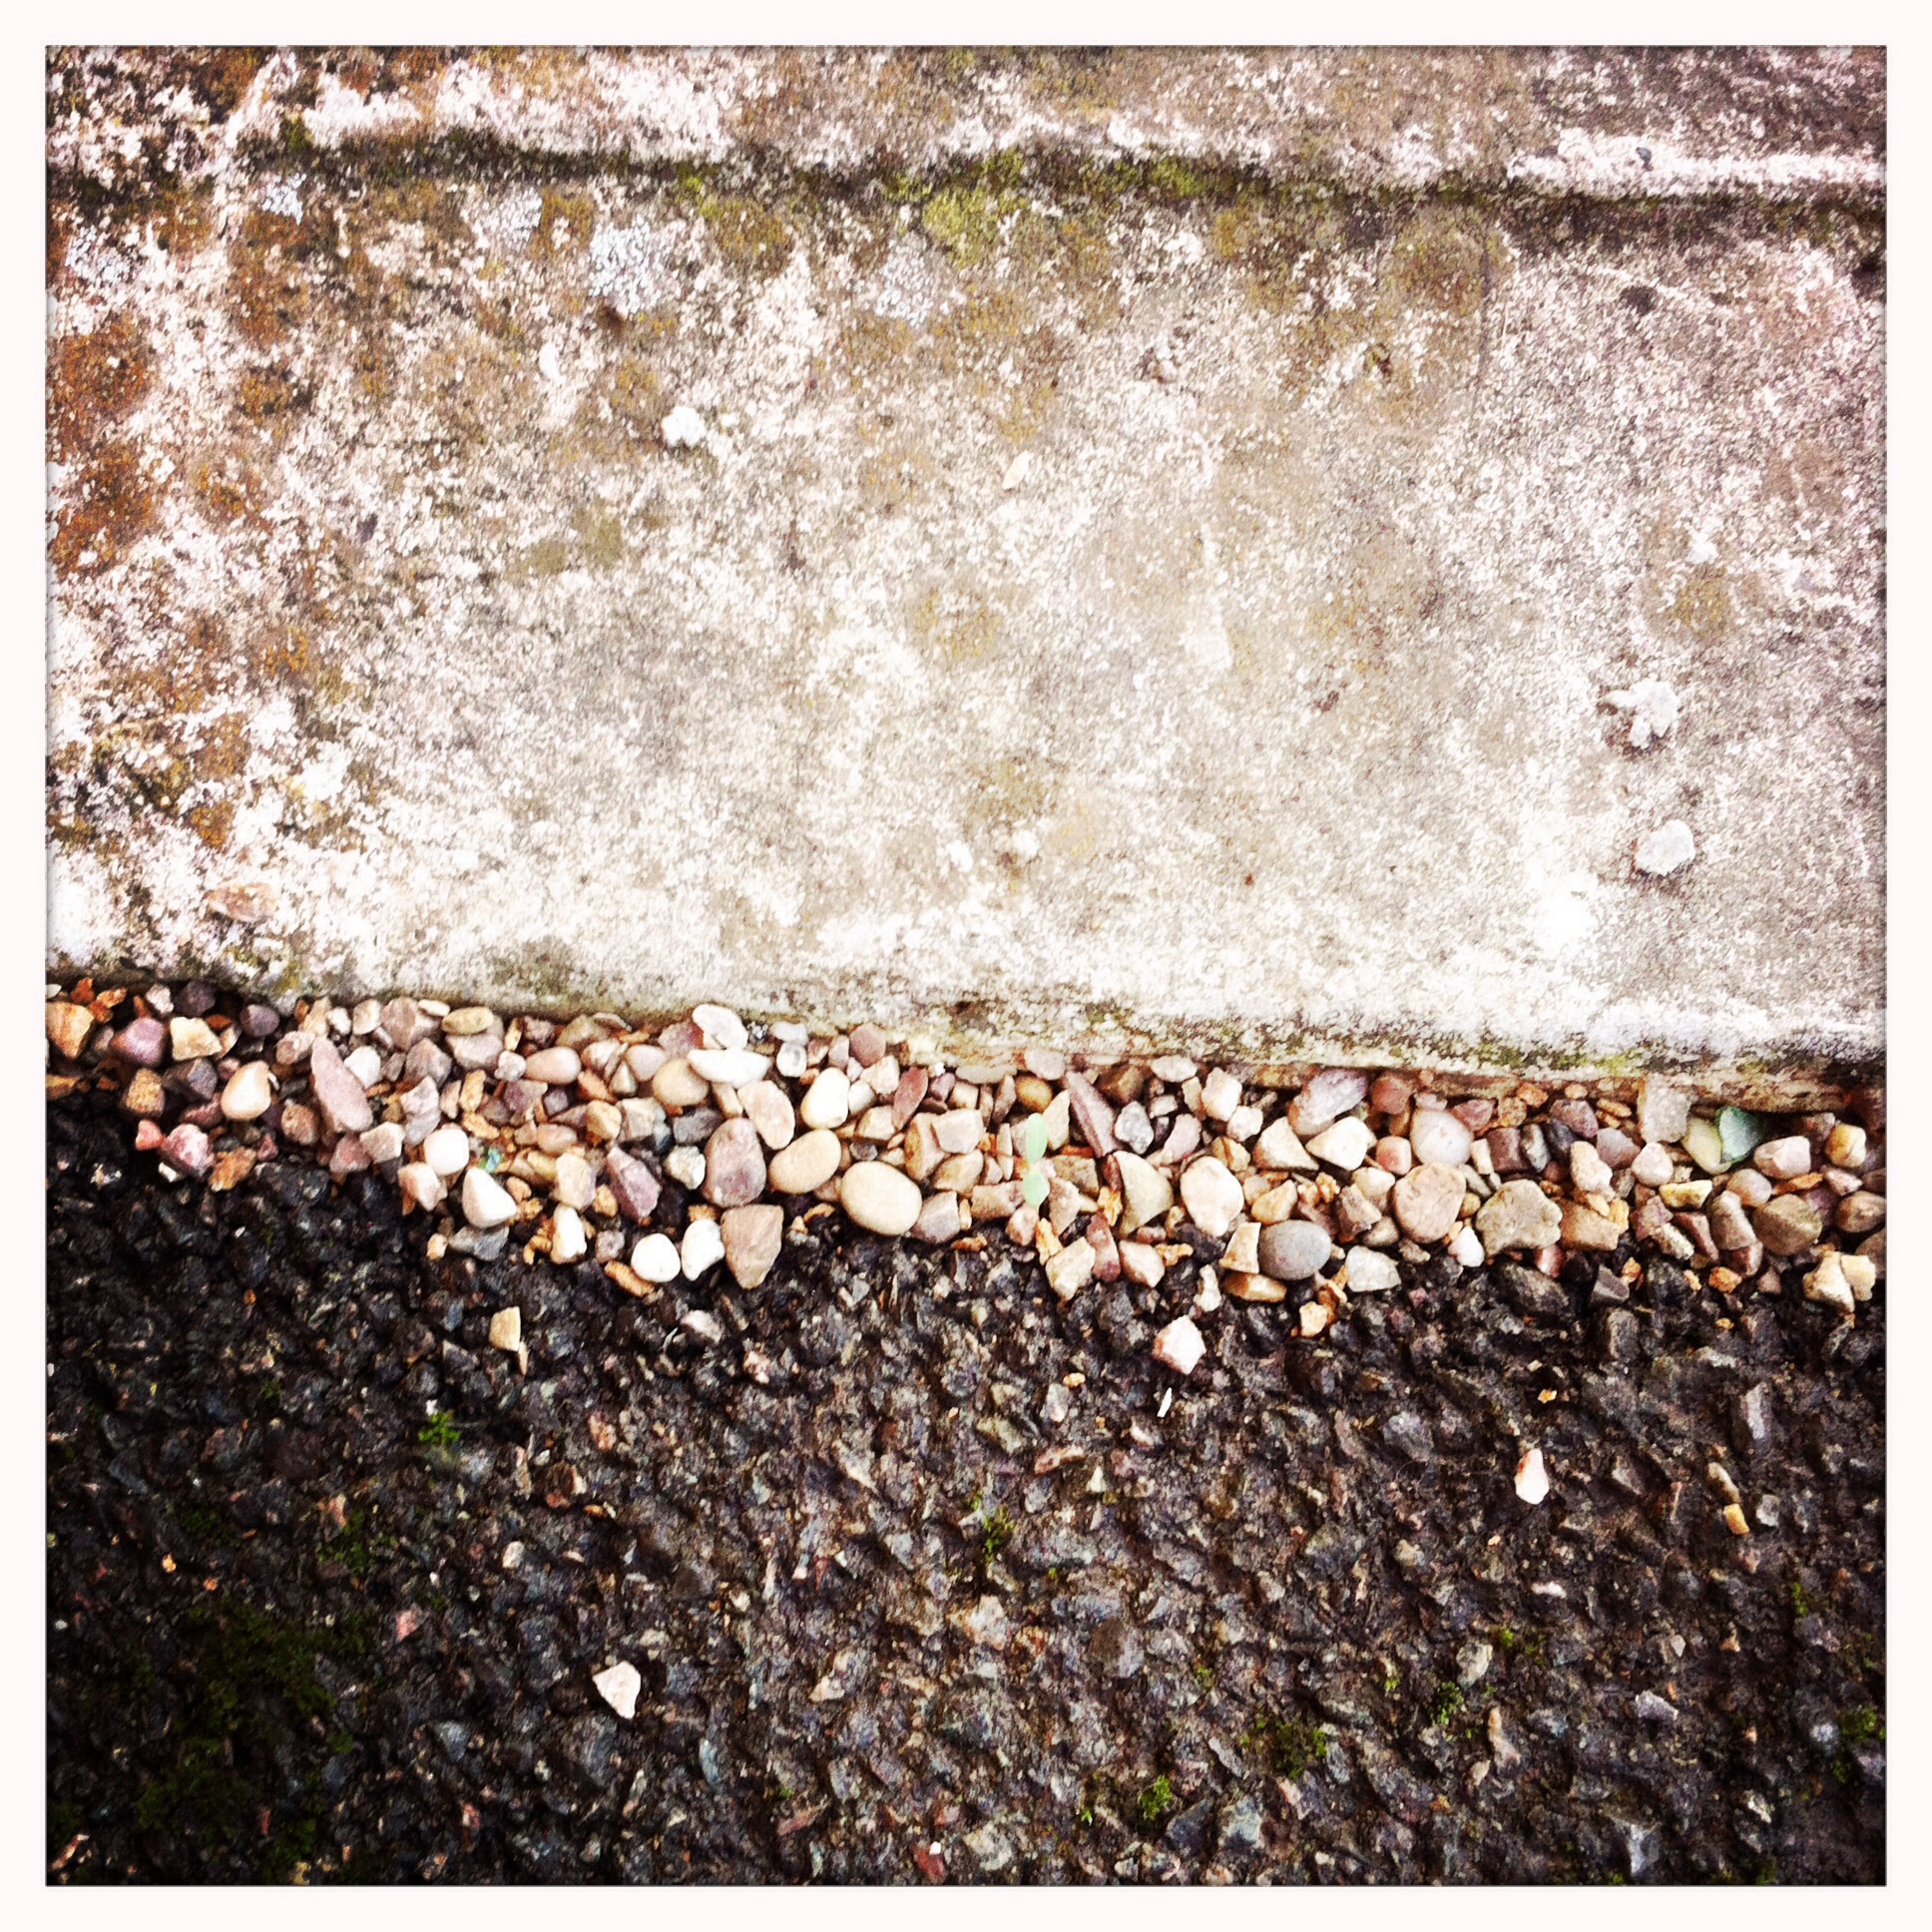
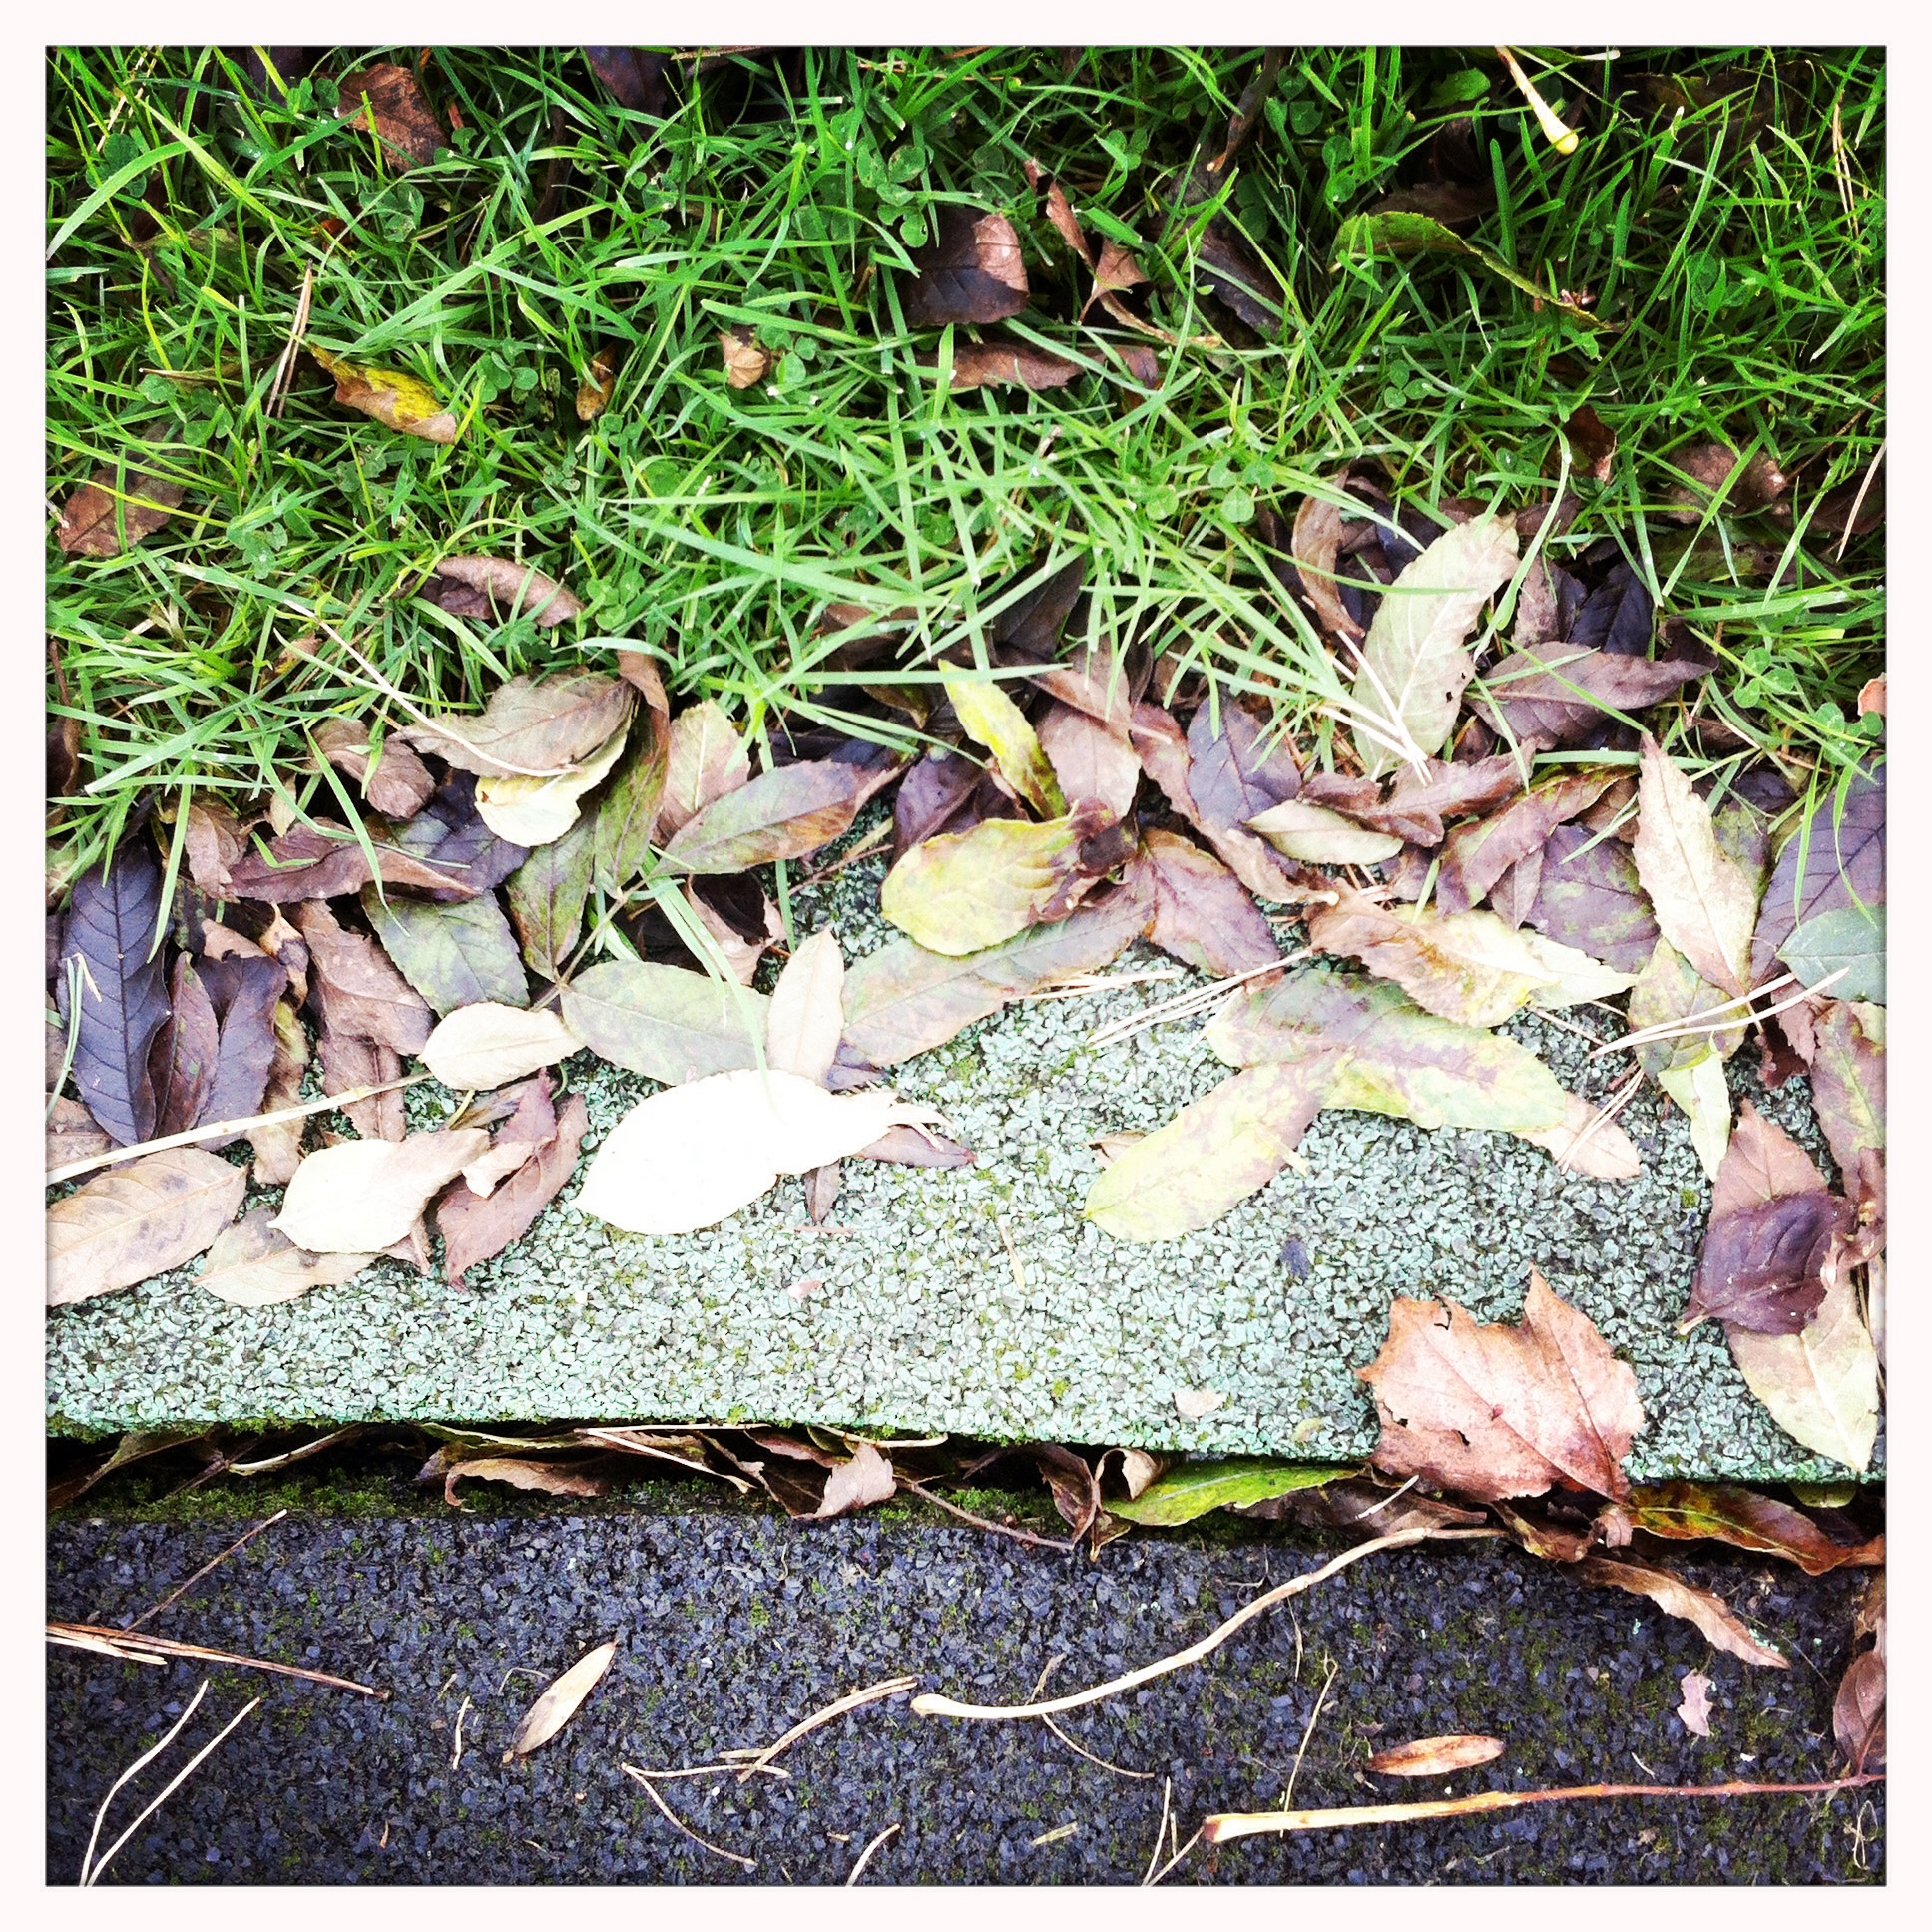


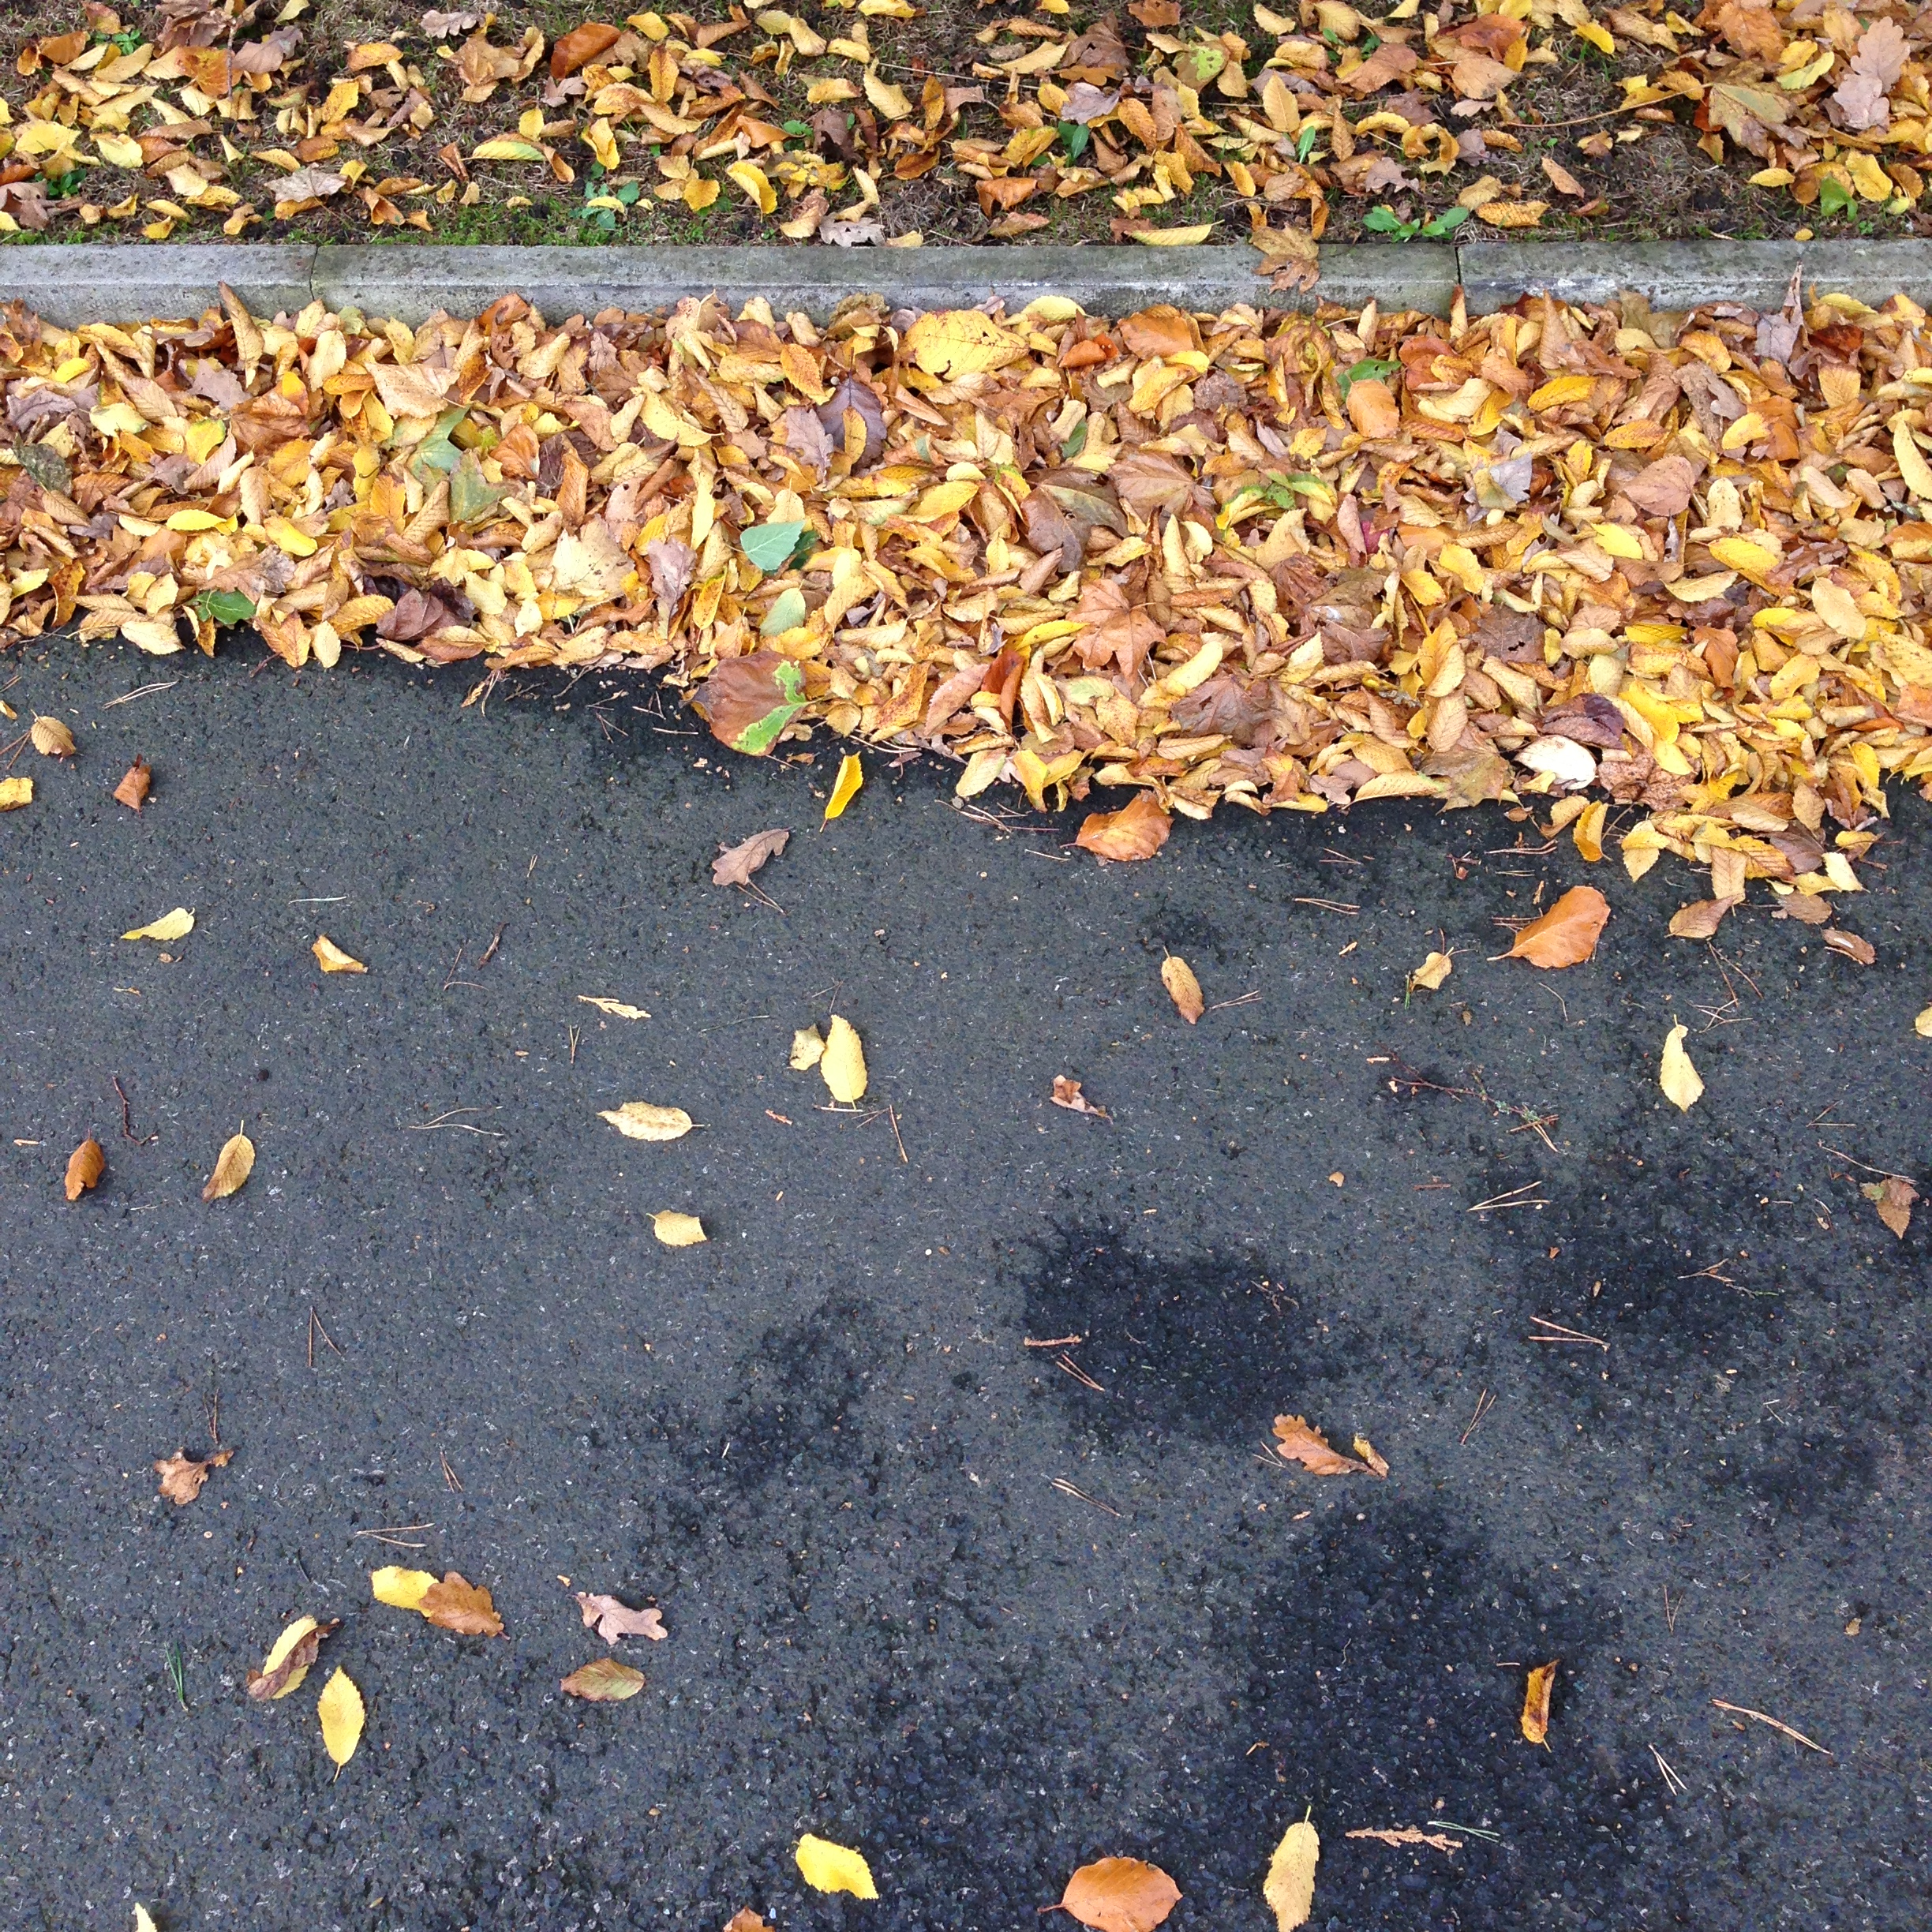
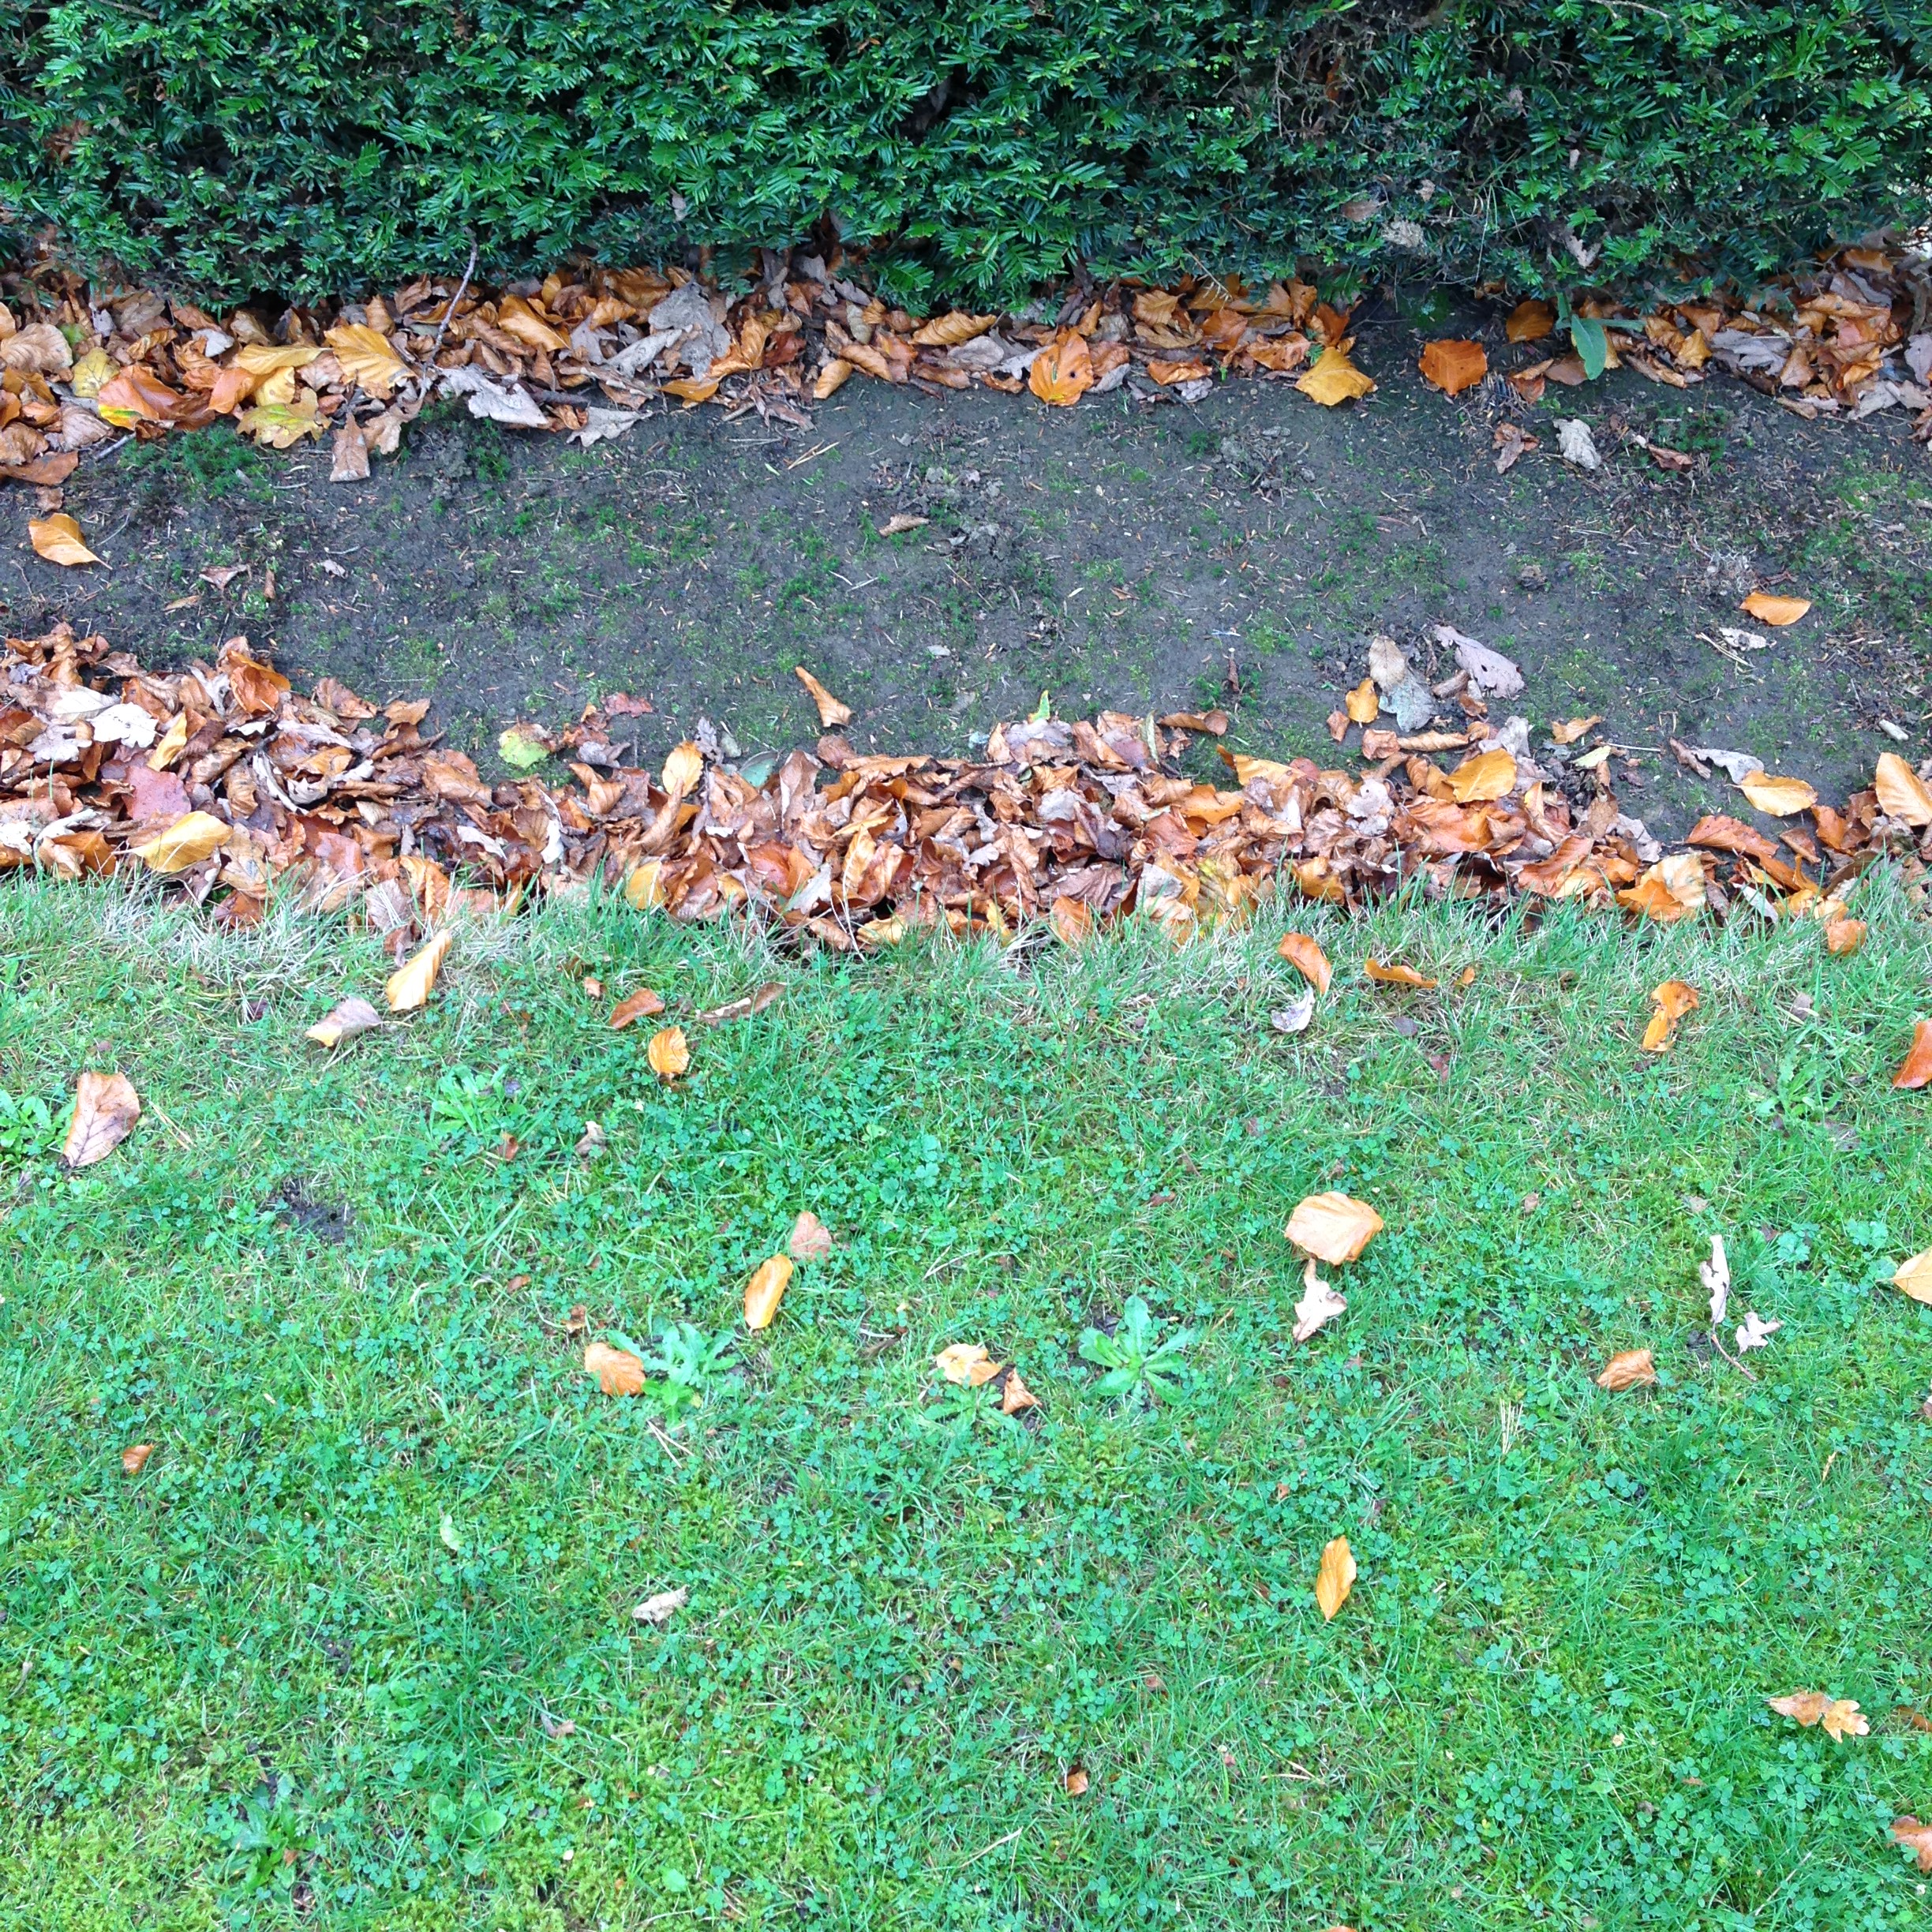
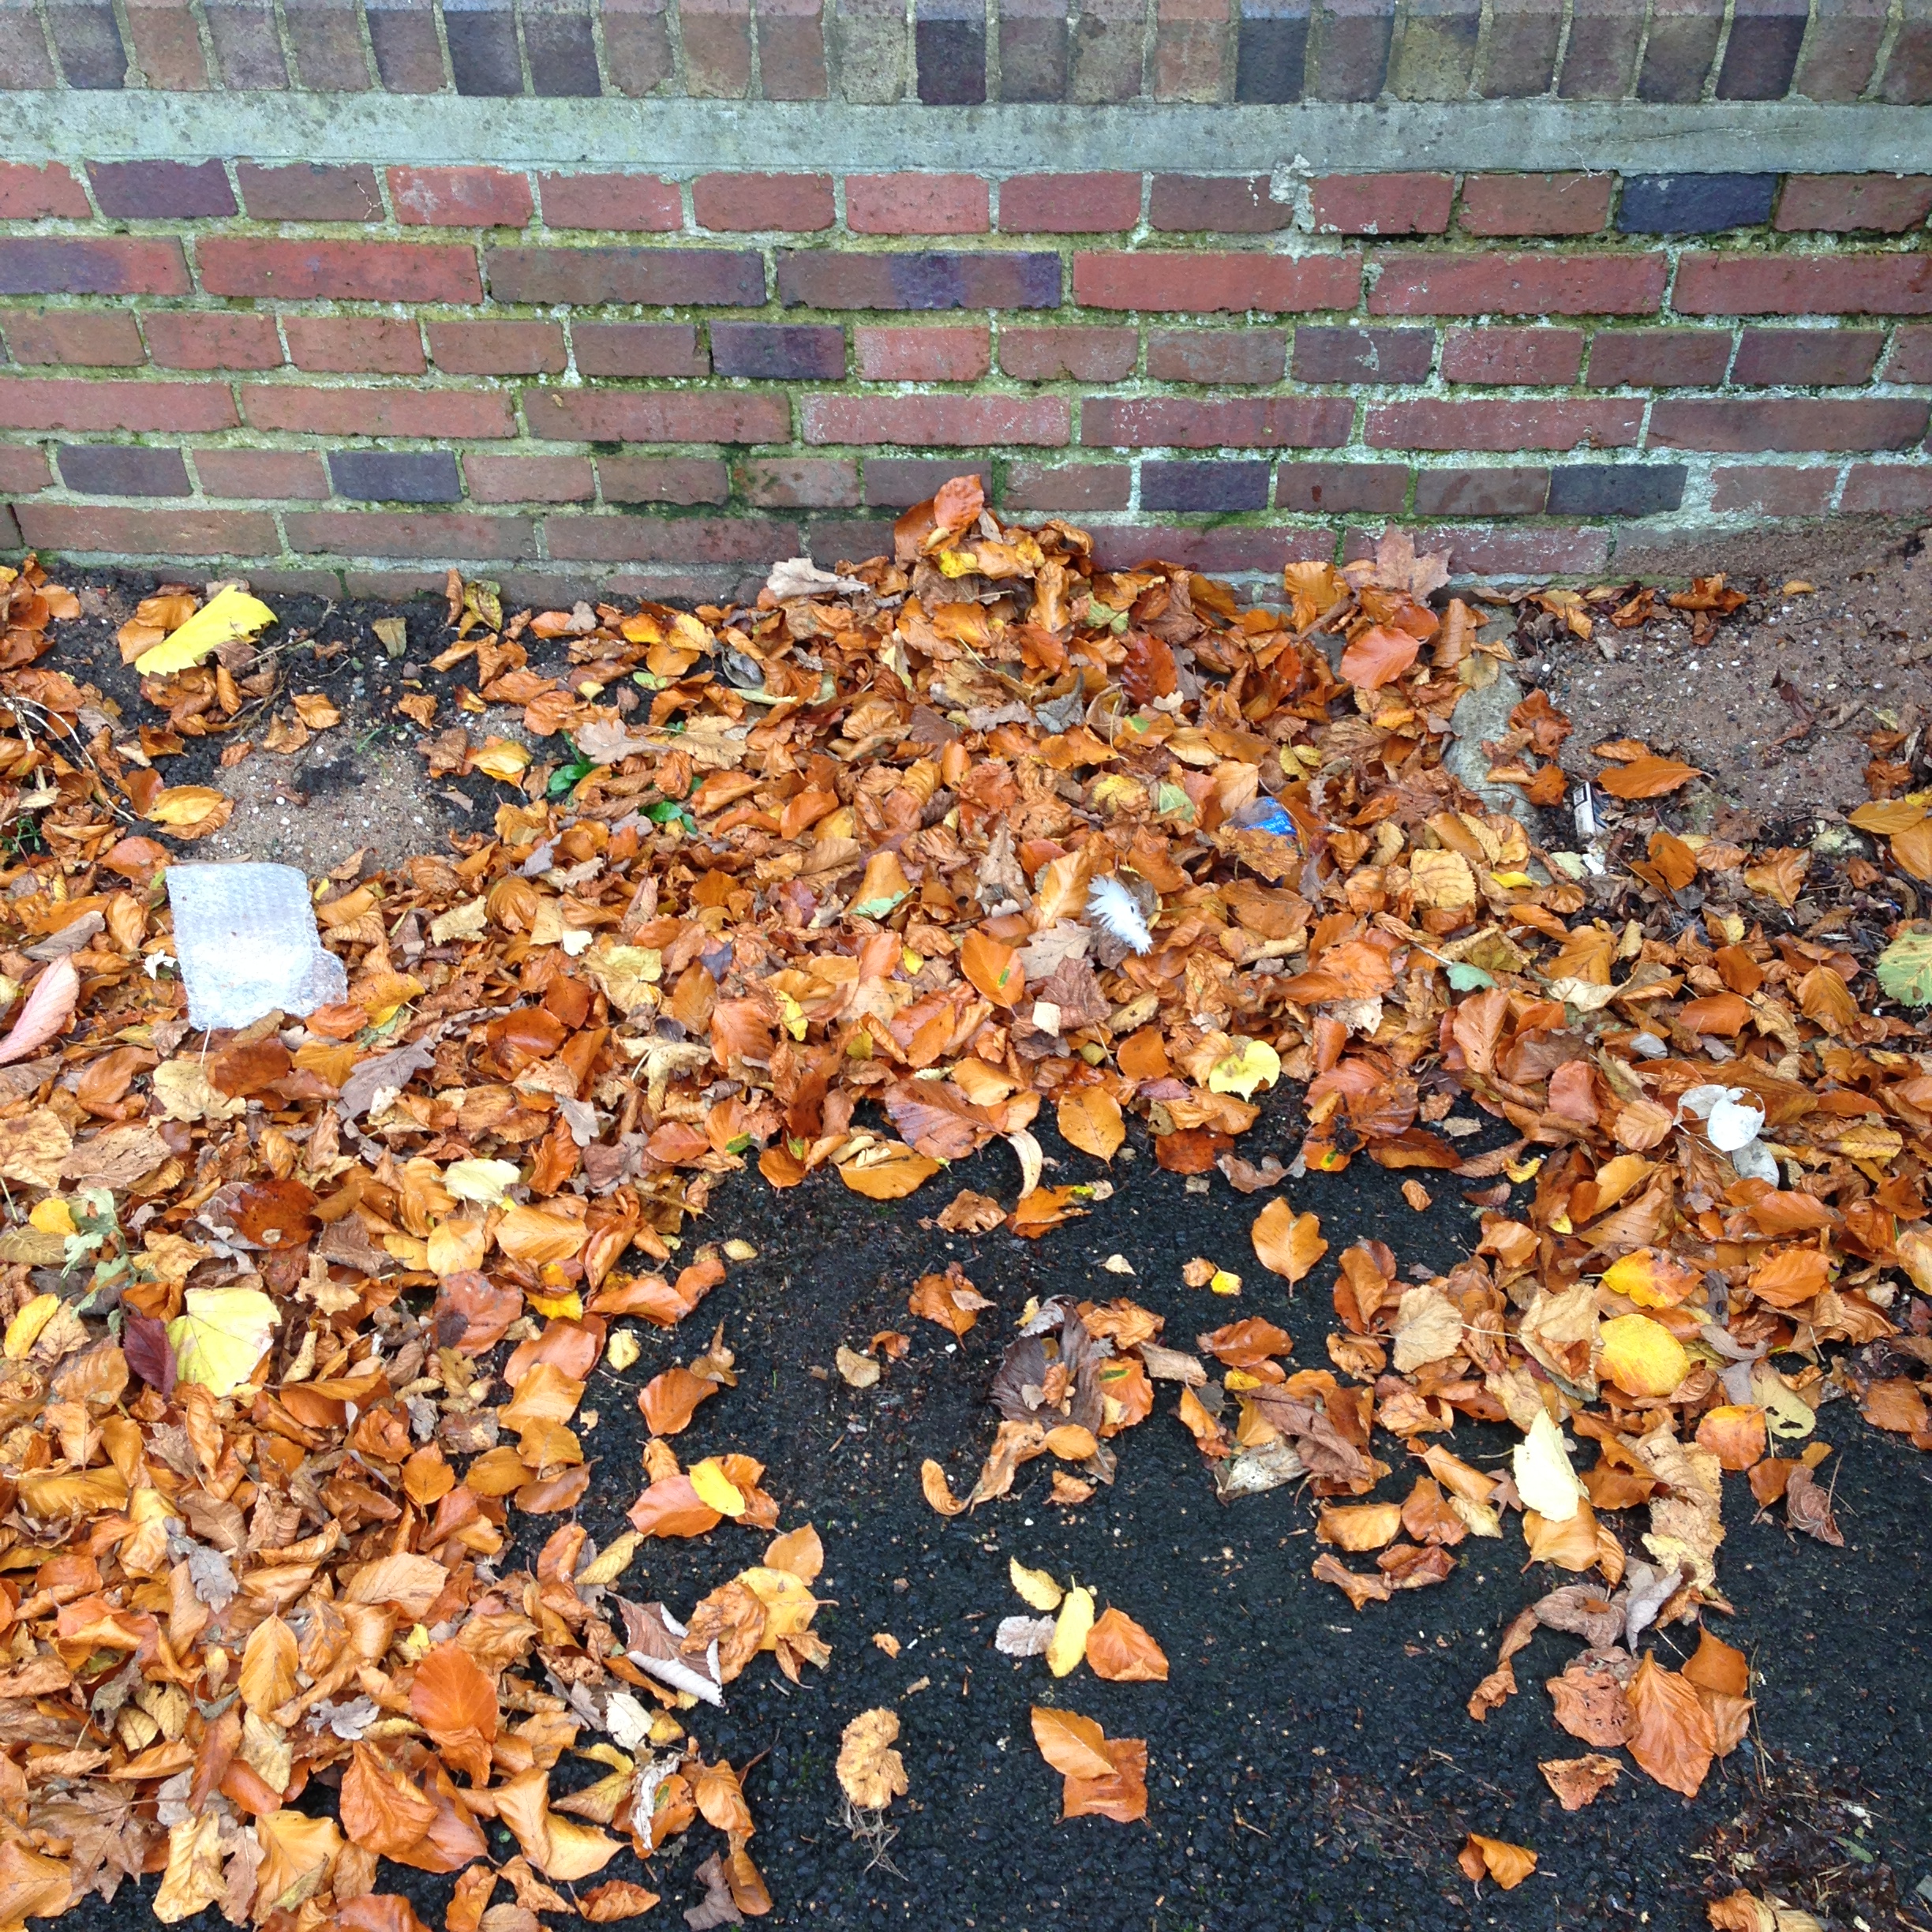
more edge photos
1

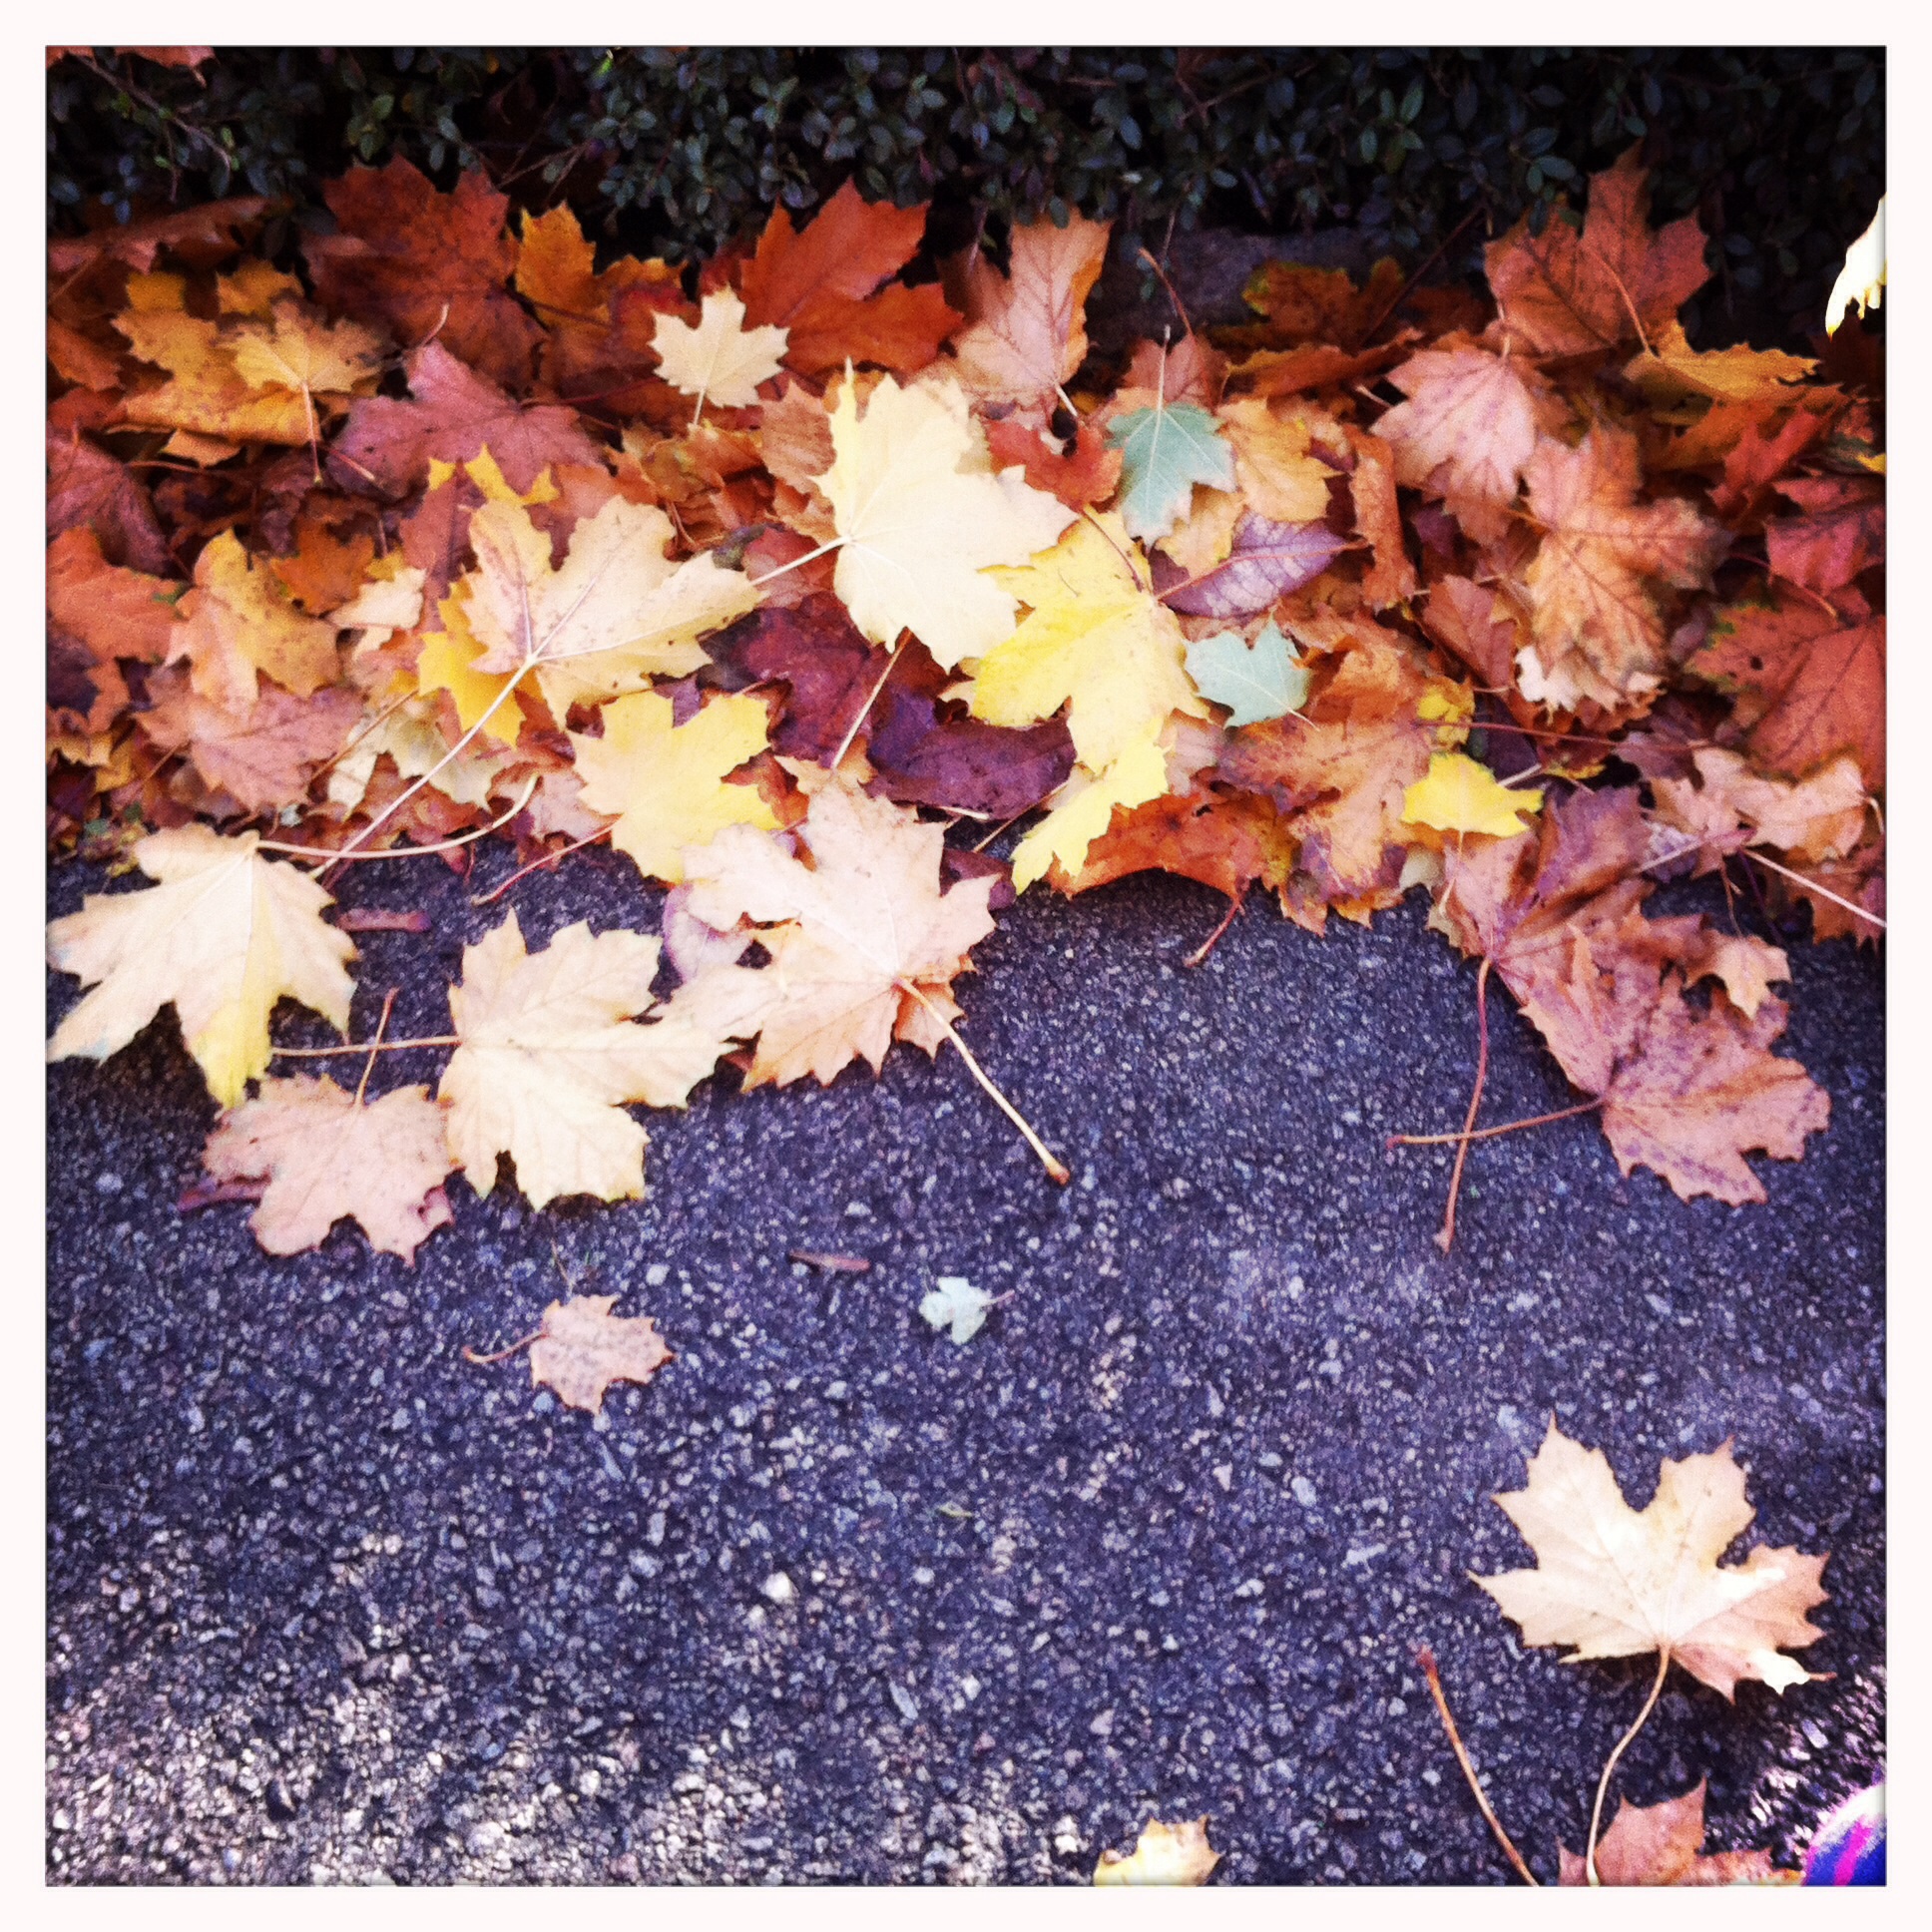
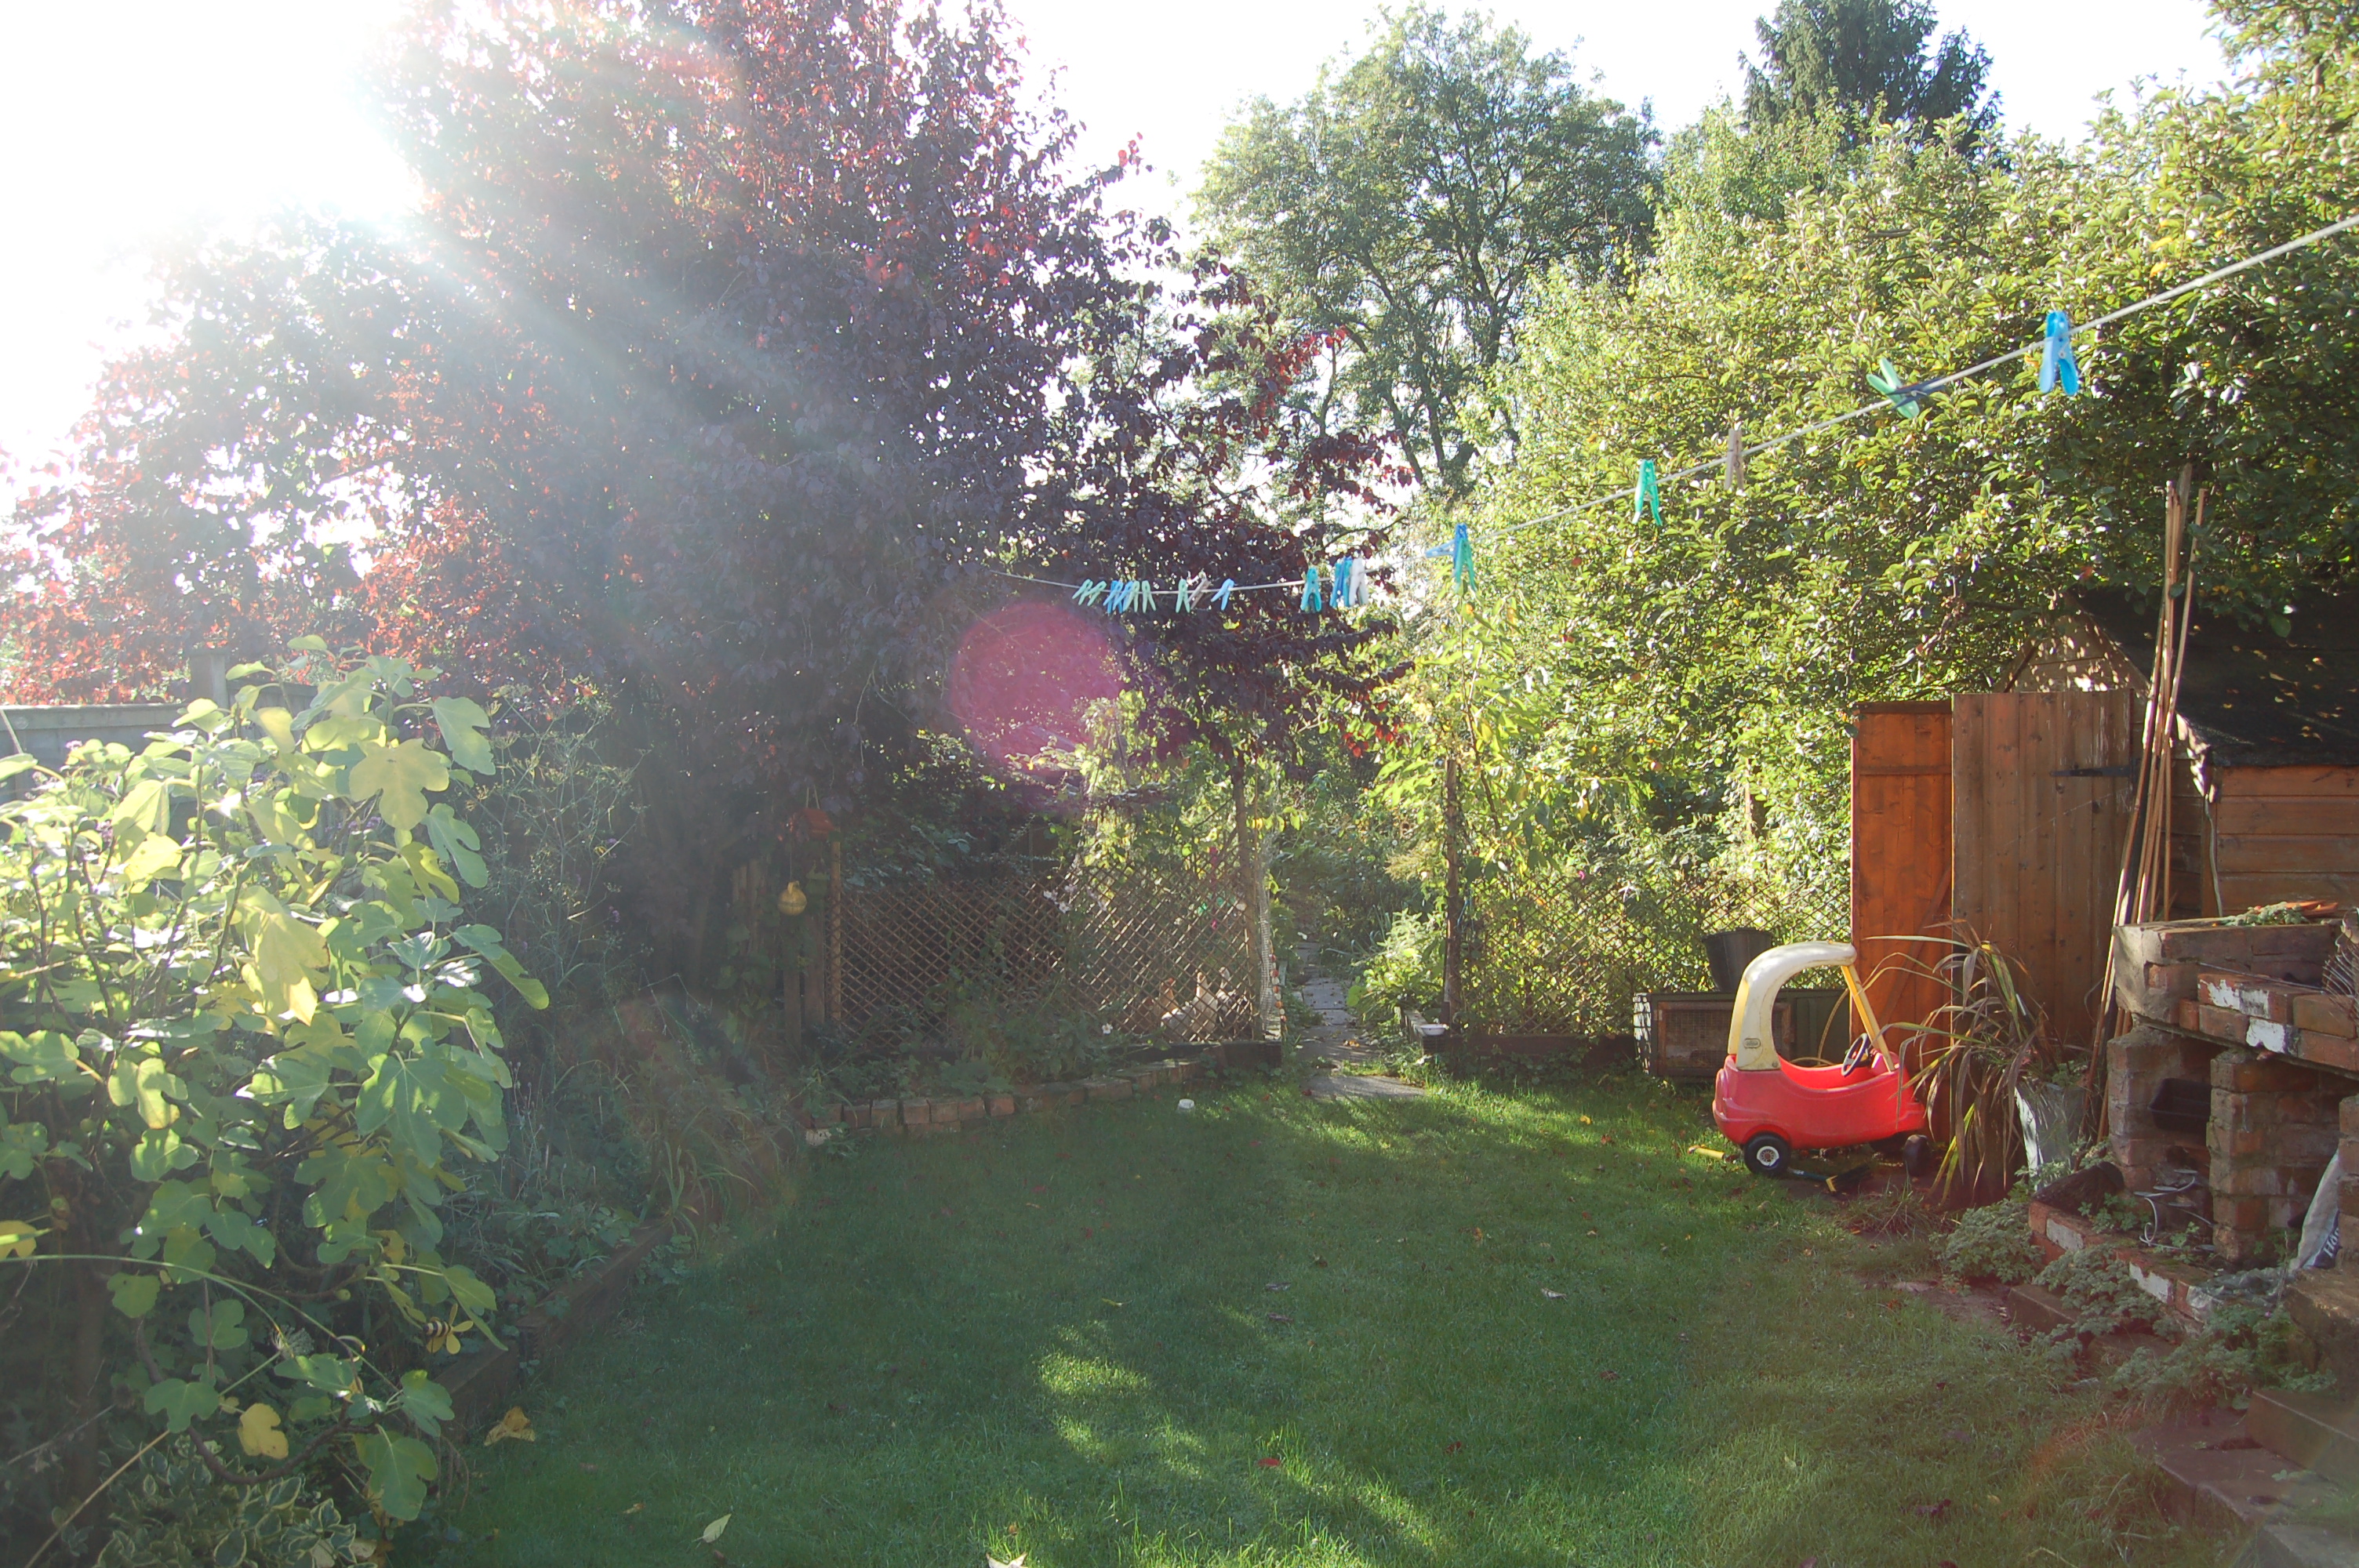
We took a walk in the park yesterday. The leaves were blowing around madly in advance of the storm we have been promised tonight. I was interested to notice where the leaves had accumulated. Lots of ‘edges’ were adorned with masses of leaves. These areas were where one material or structure transitioned to another such as lawn to flower bed, path to wall or tree base to bare bed.
I liked the appearance of these areas and took a few photos. The different linear sections reminded me of a more earthy version of Mark Rothko’s paintings. I want to take more photos like this. This is a perfect little project for me as two of my great passions are photography and gardening and my background is in fine art. Not that I have much time to think about art these days! My creative outlet is my garden and my home-making.

Photographing the edges in the park also led me to consider the added fertility that this leaf litter would be leaving on these ‘edges’ and how we, as gardeners can turn this to our advantage. The more edge we can create, the better. Especially edge with capture capacity, that the way forward!
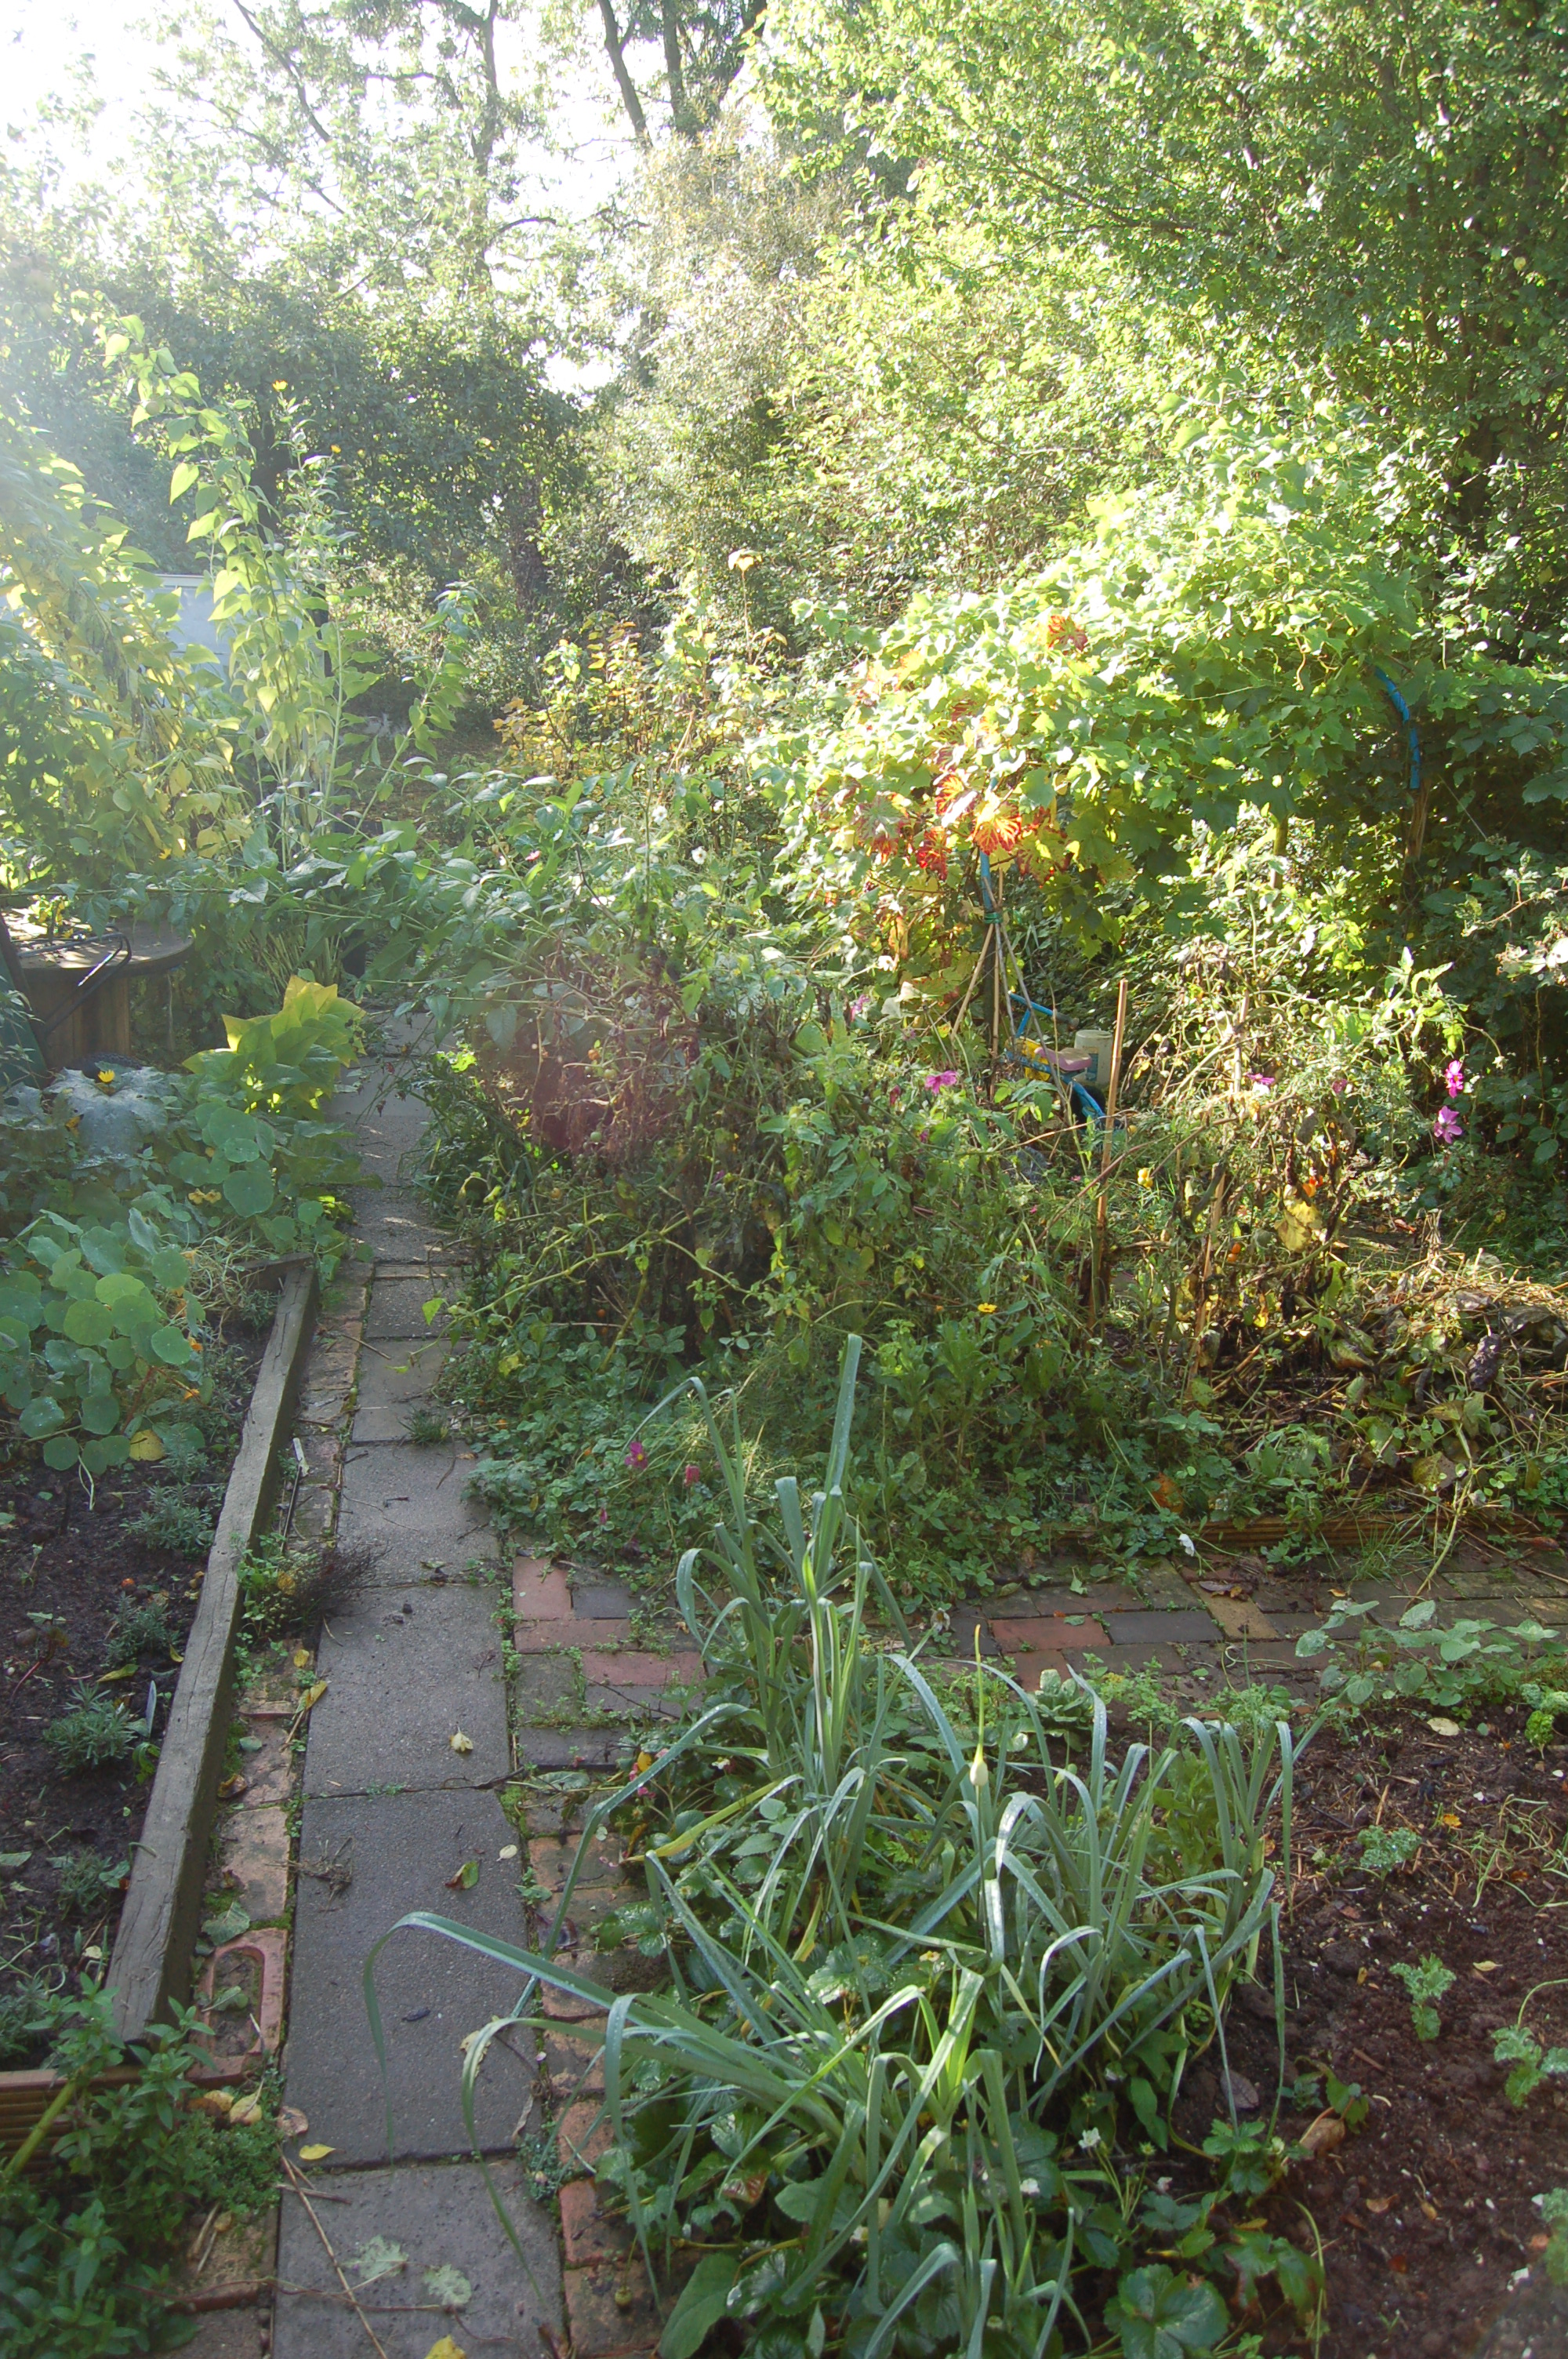
I have recently been removing some of my summer plants to make way for winter crops. I decided to leave the plants that have volunteered along the edges of the bed. Violets, alpine strawberries, forget-me-nots and what I think is borage have self seeded into the edges. I think they will look beautiful and be beneficial. So not only did I avoid the task of weeding these areas, I also got plants for free! This Permaculture thing is ok isn’t it!
It is half term and we have been hiding out at our cabin in the woods. We have been jumping in puddles, lighting candles, reading books, going on rainy walks and having early nights. It was good to be out of reach of the modern world for a while. 


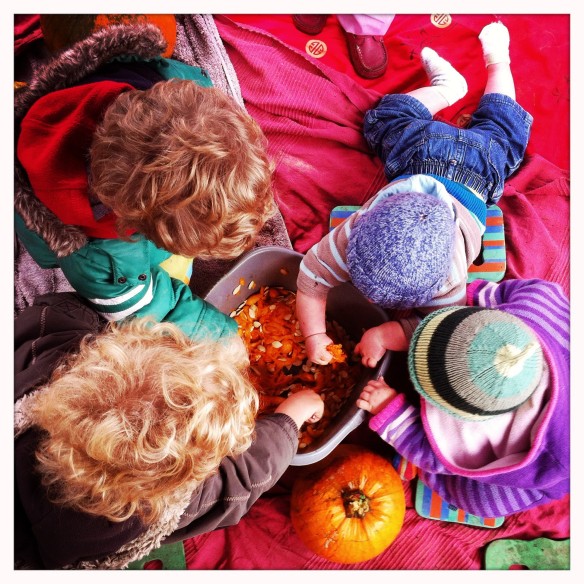
Eighteen months ago my sister and I had the opportunity to set up a playgroup on a local allotment site. Part of her job involves managing a community allotment and encouraging local community participation. We thought it would be fun to organise something that encouraged parents and pre-school children to play together in an outdoor setting, using natural materials and observing the seasons. So ‘Muddy Boots’ was created. We have met now for two years, twice a month from Easter to fireworks nights. We had our last session for this year on Friday. Our theme was pumpkins. 
We had a story on the theme then the children went on a hunt around the allotment site for a pumpkin each which we picked and did activities with. We carved them, played with the seeds, drew on them, made pumpkin masks and did pumpkin ten-pin bowling! Each session ends with songs and a feast of fruit and veg to share. This is brought in by the participants and collected from the allotment. Our group is well attended, normally we have between 10 and 25 families (dependant on weather) with a ‘hard-core’ of six families who always brave it. We ask for a small donation to cover materials and resources and a hot drink, squash or water.
It has been a great thing to be involved with. I have met some like-minded parents who, like me want an occasional alternative to yet another playgroup in a church hall filled with plastic toys! We are hoping to continue running the group next spring, but my sister’s contract comes to an end in March, so we are currently unsure if we will have permission to use the community allotment site. Finger’s crossed!
When I did my PDC last year, my design was based on developing an education space in the community allotment for Muddy boots and other groups to use. I will post the design and photos here soon. I feel that the ethos of ‘Muddy Boots’ fits well with the ethics of Permaculture; Earth care, People care and Fair shares.


 Baby boy is teething, poor little chap. He is chomping on everything in sight, dribbling loads and is not his usual happy self. Two tiny razor-sharp teeth have poked through now, so hopefully he should be feeling better soon.
One of the first things I learnt when I starting my ‘Introduction to Permaculture’ course was the ‘Hierarchy of intervention’ This grand title basically means a system showing when and how to intervene in a situation when you have noticed a problem. There are 4 levels of intervention;
1. Do nothing
2. Biological resources
3. Mechanical or physical intervention
4. Chemical intervention.
So for example, if you have noticed slugs invading your vegetable patch, you could
1. Do nothing. Observe the slugs and keep an eye on what they are attracted to.
2. Biological resources. Build a pond to attract predators to eat the slugs. Let your chickens onto that area to eat them or plant things that the slugs don’t like.
3. Mechanical or physical intervention. Pick the slugs off and remove them or use a deterrent such as crushed egg shells or copper strips.
4. Chemical intervention. Put down slug pellets (although this would not be in line with organic gardening principles so would be an absolute last resort)
So what has this got to do with a teething baby I hear you wonder? When I first heard about this system and applied it to my parenting, I felt rather comforted. Conventional wisdom tells us to head straight for the chemist as soon as our children have a sniffle. But sometimes I question this approach. A raised temperature is there for a reason, right, to kill off a bug and make our children better. So why do we immediately feel we should react by suppressing this temperature and interfering with the bodies natural processes? Obviously sometimes medicine is the best approach but shouldn’t we sometimes trust in nature a little more? This has been one of my most difficult parenting challenges, of course when your baby is ill you want to make them better. But I think by taking a step back and considering gentler ways of reacting, I have helped my children build their immune systems and recover quickly from minor illnesses and normal childhood ailments such as teething.
Teething
1. Do nothing. Notice signs of teething and see how he is coping.
2. Biological resources. Lots of breast-feeding, cold hard fruit and veg sticks to chew on. Homeopathic Camilila powers rubbed into the gums. These are made from the camomile flower so are a natural product that seems to help a little and certainly are a welcome distraction for a teething baby.
3. Mechanical or physical intervention. Extra cuddles and carrying in the sling to give comfort. Put on the amber teething necklace. The amber has properties that help relieve pain. I have no idea how this works but I do have faith that it does work. We have used this necklace for all three of our children and they have cut their teeth without too many problems.
4. Chemical intervention. Baby paracetamol such as Nurophen or Calpol given only as a last resort. We have managed to avoid this so far and S is eight months old now. I like the fact that I have lots of other ideas to try before reaching for the bottle of chemicals!

Harvesting
I picked the last of the chili and peppers yesterday. They had all turned red. We grew them in quite small pots on the steps of the terrace this year. It is a great sun-trap and they were very happy there. The final courgette has now been eaten as well as the last few tomatoes. What a fabulous tomato year! I think had more tomatos than even when we filled the polytunnel with them. Growing tomatoes outside is always a gamble, but no blight this year, for that I am very thankful. We have a small patch of spicy salad leaves ready to pick but I am slightly off salads at the moment and tending towards comfort foods as the weather turns colder.
Planting
I have planted garlic, kale and onions this month. See ‘Accept feedback’ post of details of the fate of my onions!
Thinking
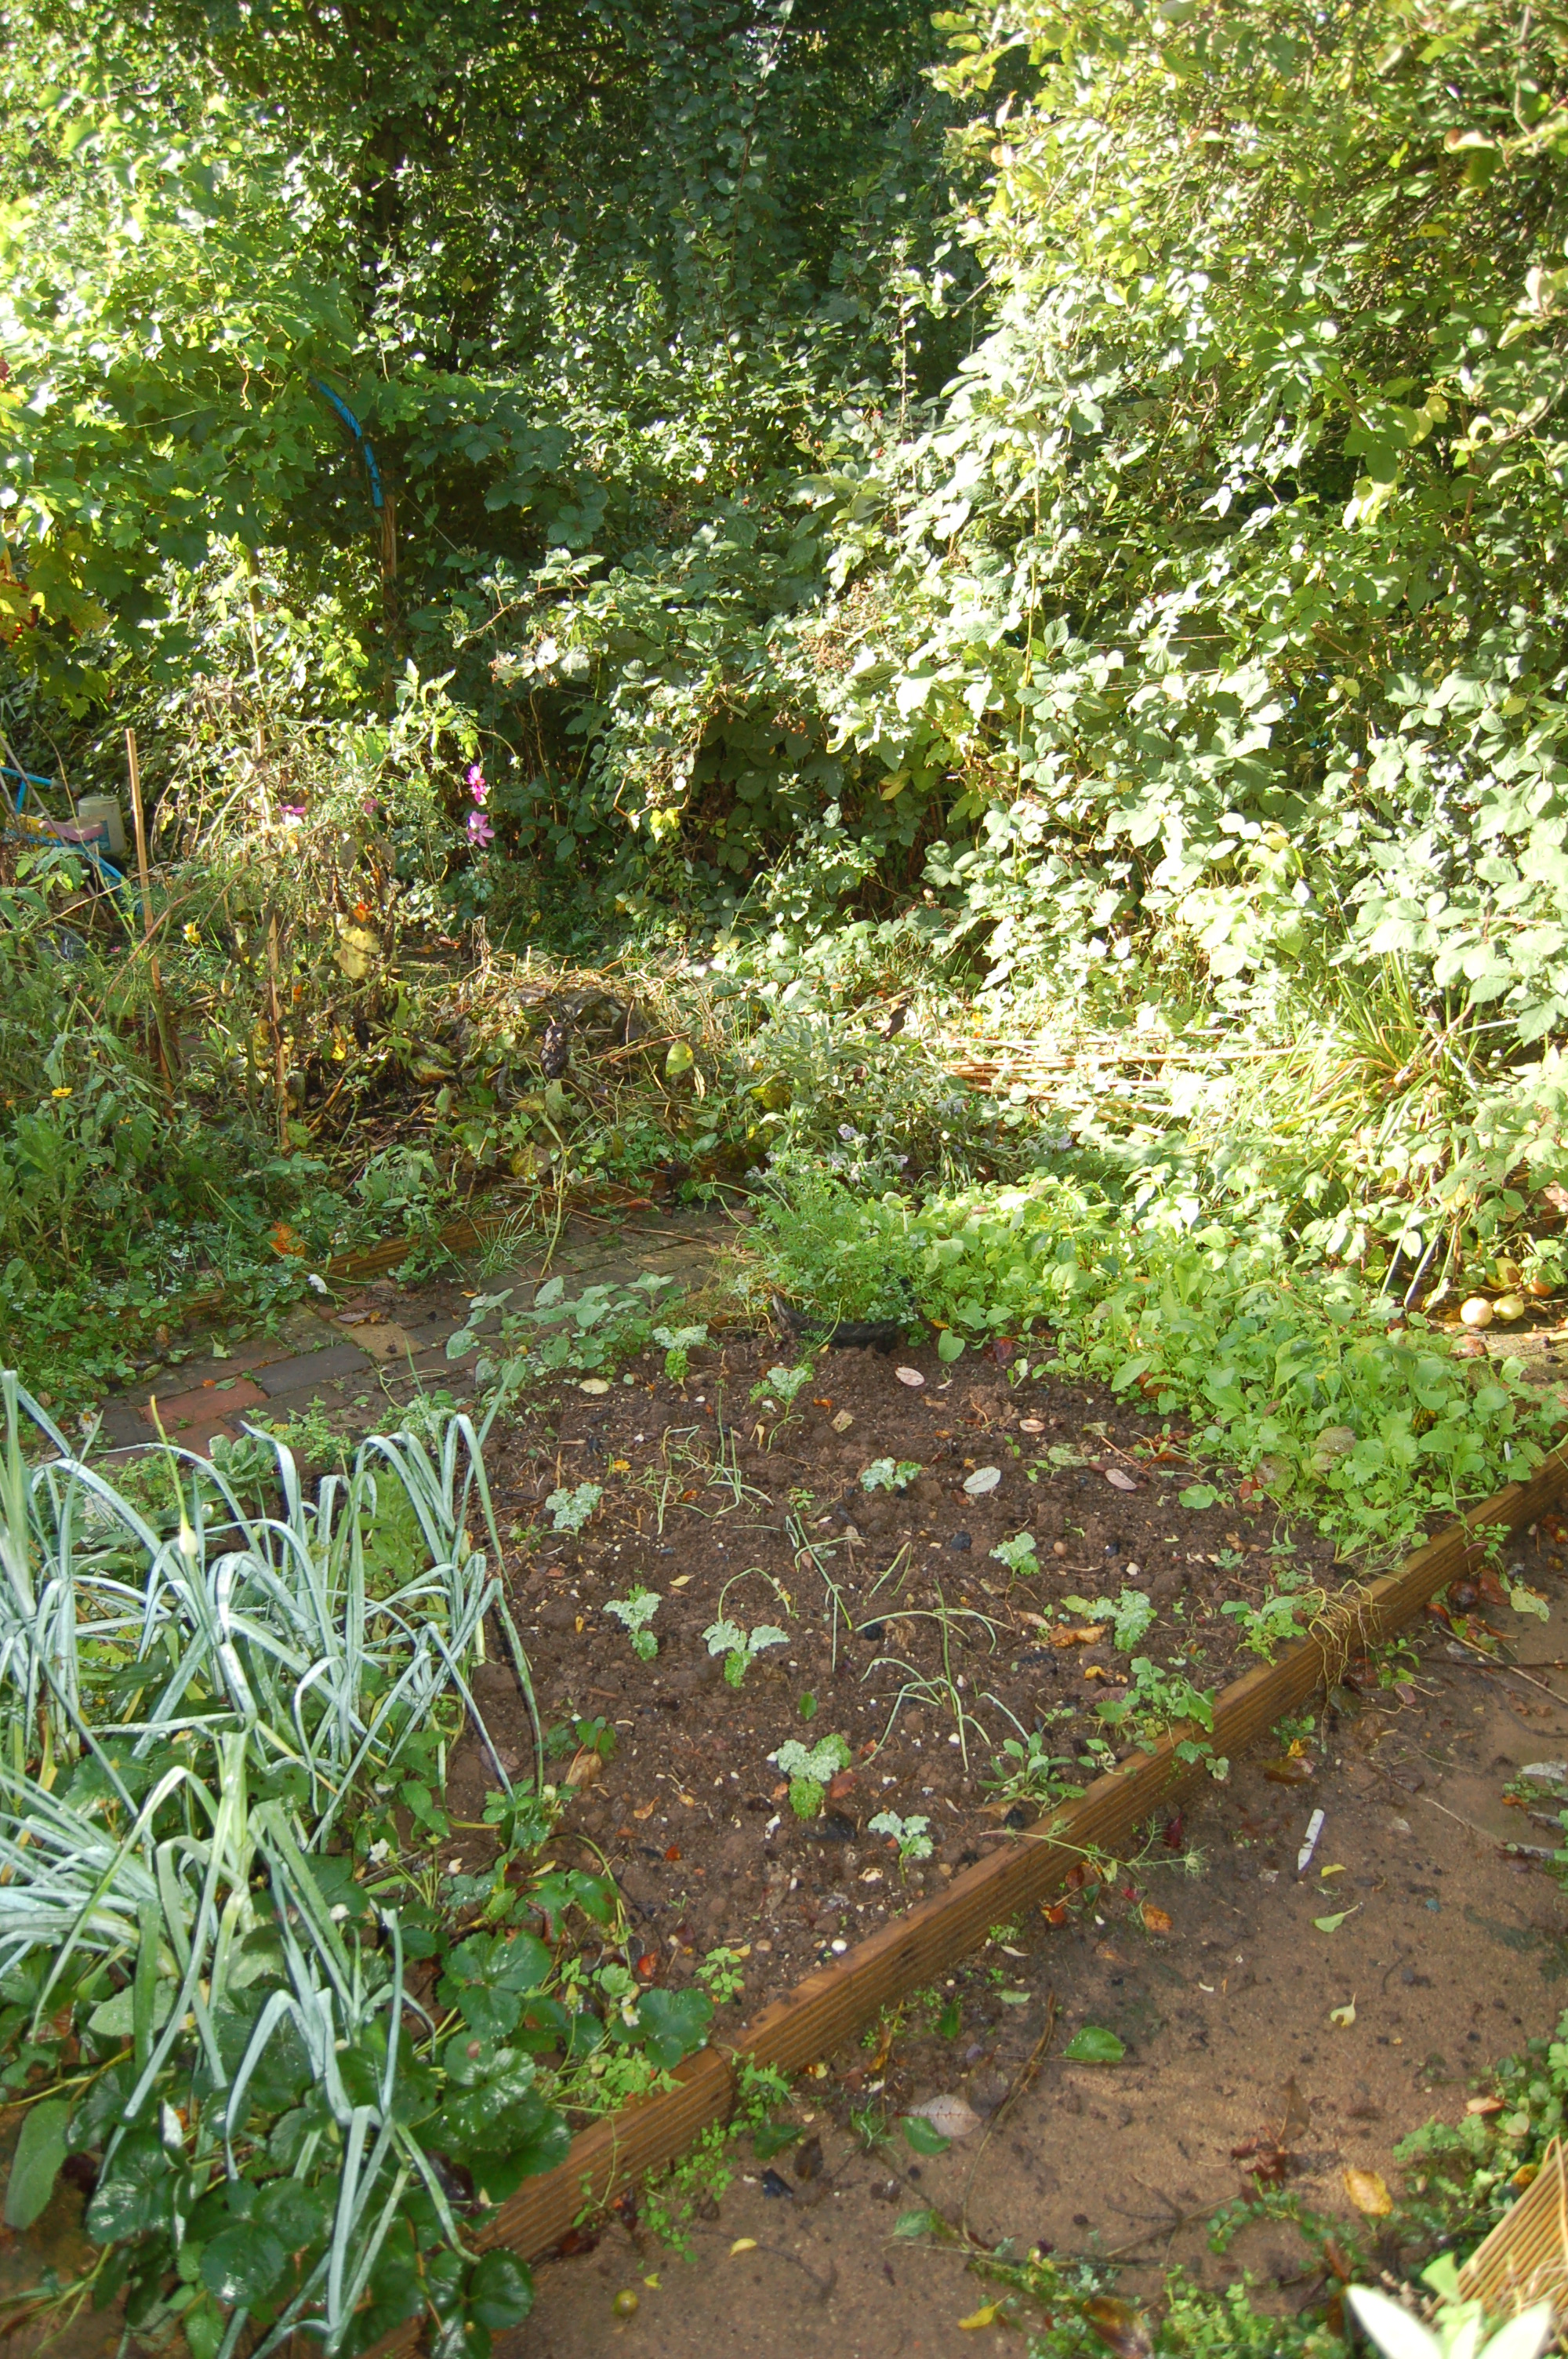
I need to sow some more salad leaves or a green manure in the polytunnel. I pulled up the last of the toms on the weekend, so it’s currently bare soil, not very Permaculture! To put the garden to bed I intend to cover the unused beds with garden compost, horse manure and green manures. I have been using the chop and drop method too, essentially creating a covering of compostable materials on the soil whenever you prune or pull up a plant. This creates lots of mini compost heaps that protect and enrich your soil.
I think one of my chickens is a cockerel. We brought 4 grey/blue laced Wyandottes as chicks. Two died and one of the remaining ones is looking like a boy, I am awaiting the first crow! (image below, what do you think?) My husband will kill and eat him. As a vegetarian of 20+years I am ok with this. At least I know he had a good life, was killed swiftly and humanely and the meat will be used to its full capacity and enjoyed.
Feeling
I am feeling excited about our last weekend away at the cabin. I am feeling tired a lot of the time. I don’t know if this is the result of many months of broken seep, the toil of long-term breast-feeding or just the change of seasons. I am trying to nourish myself with lots of home cooked soups, stews and crumbles. Lovely autumnal foods. I am enjoying cosy evenings in front of the logburner and snuggling under blankets. However I am not enjoying biking back from yoga class in the dark and rain or having to get up while it is still dark.


 Weather stats
Thursday 17th October 2013
Sunny and still with clear blue skies. (A welcome change after four days of solid rain)
Sunrise 07.33 Sunset 18.06
Max temp 15 Min temp 10
 8. Base map
This is my working drawing of the dimensions of the wardrobe. The normal Permaculture tools of lines of desire, zones and sectors could be applied here, but the space is tiny so I am just using common sense about placements and scale.

9. Apply Permaculture ethics and principles
Earth care – Use materials I already have whenever possible rather than purchasing new. People care – Zone 00, myself! I will mainly be making things for other people, so they will benefit from handmade presents and clothes repairs. Fair shares – I don’t really know, errm, let other people use the area too? Maybe I can teach my eldest daughter how to use the sewing machine in a couple of years.
Obtain a yield– Something for myself Produce no waste– Make use of materials and objects we have already. Plan carefully and then only purchase what is absolutely necessary. Use small and slow solutions – A quick first project to ease me into the diploma. Use edges and value the marginal – Using a marginal area of the house. Also using the edges of the space to the best potential. Creatively use and respond to change– Our use of this house has changed a lot since we brought it. Two more children and loads of additional stuff has filled the house up a lot. So I have had to adapt and change how I practice my creative hobbies in the house. I expect this will continue to change in the future.
10. Working Design
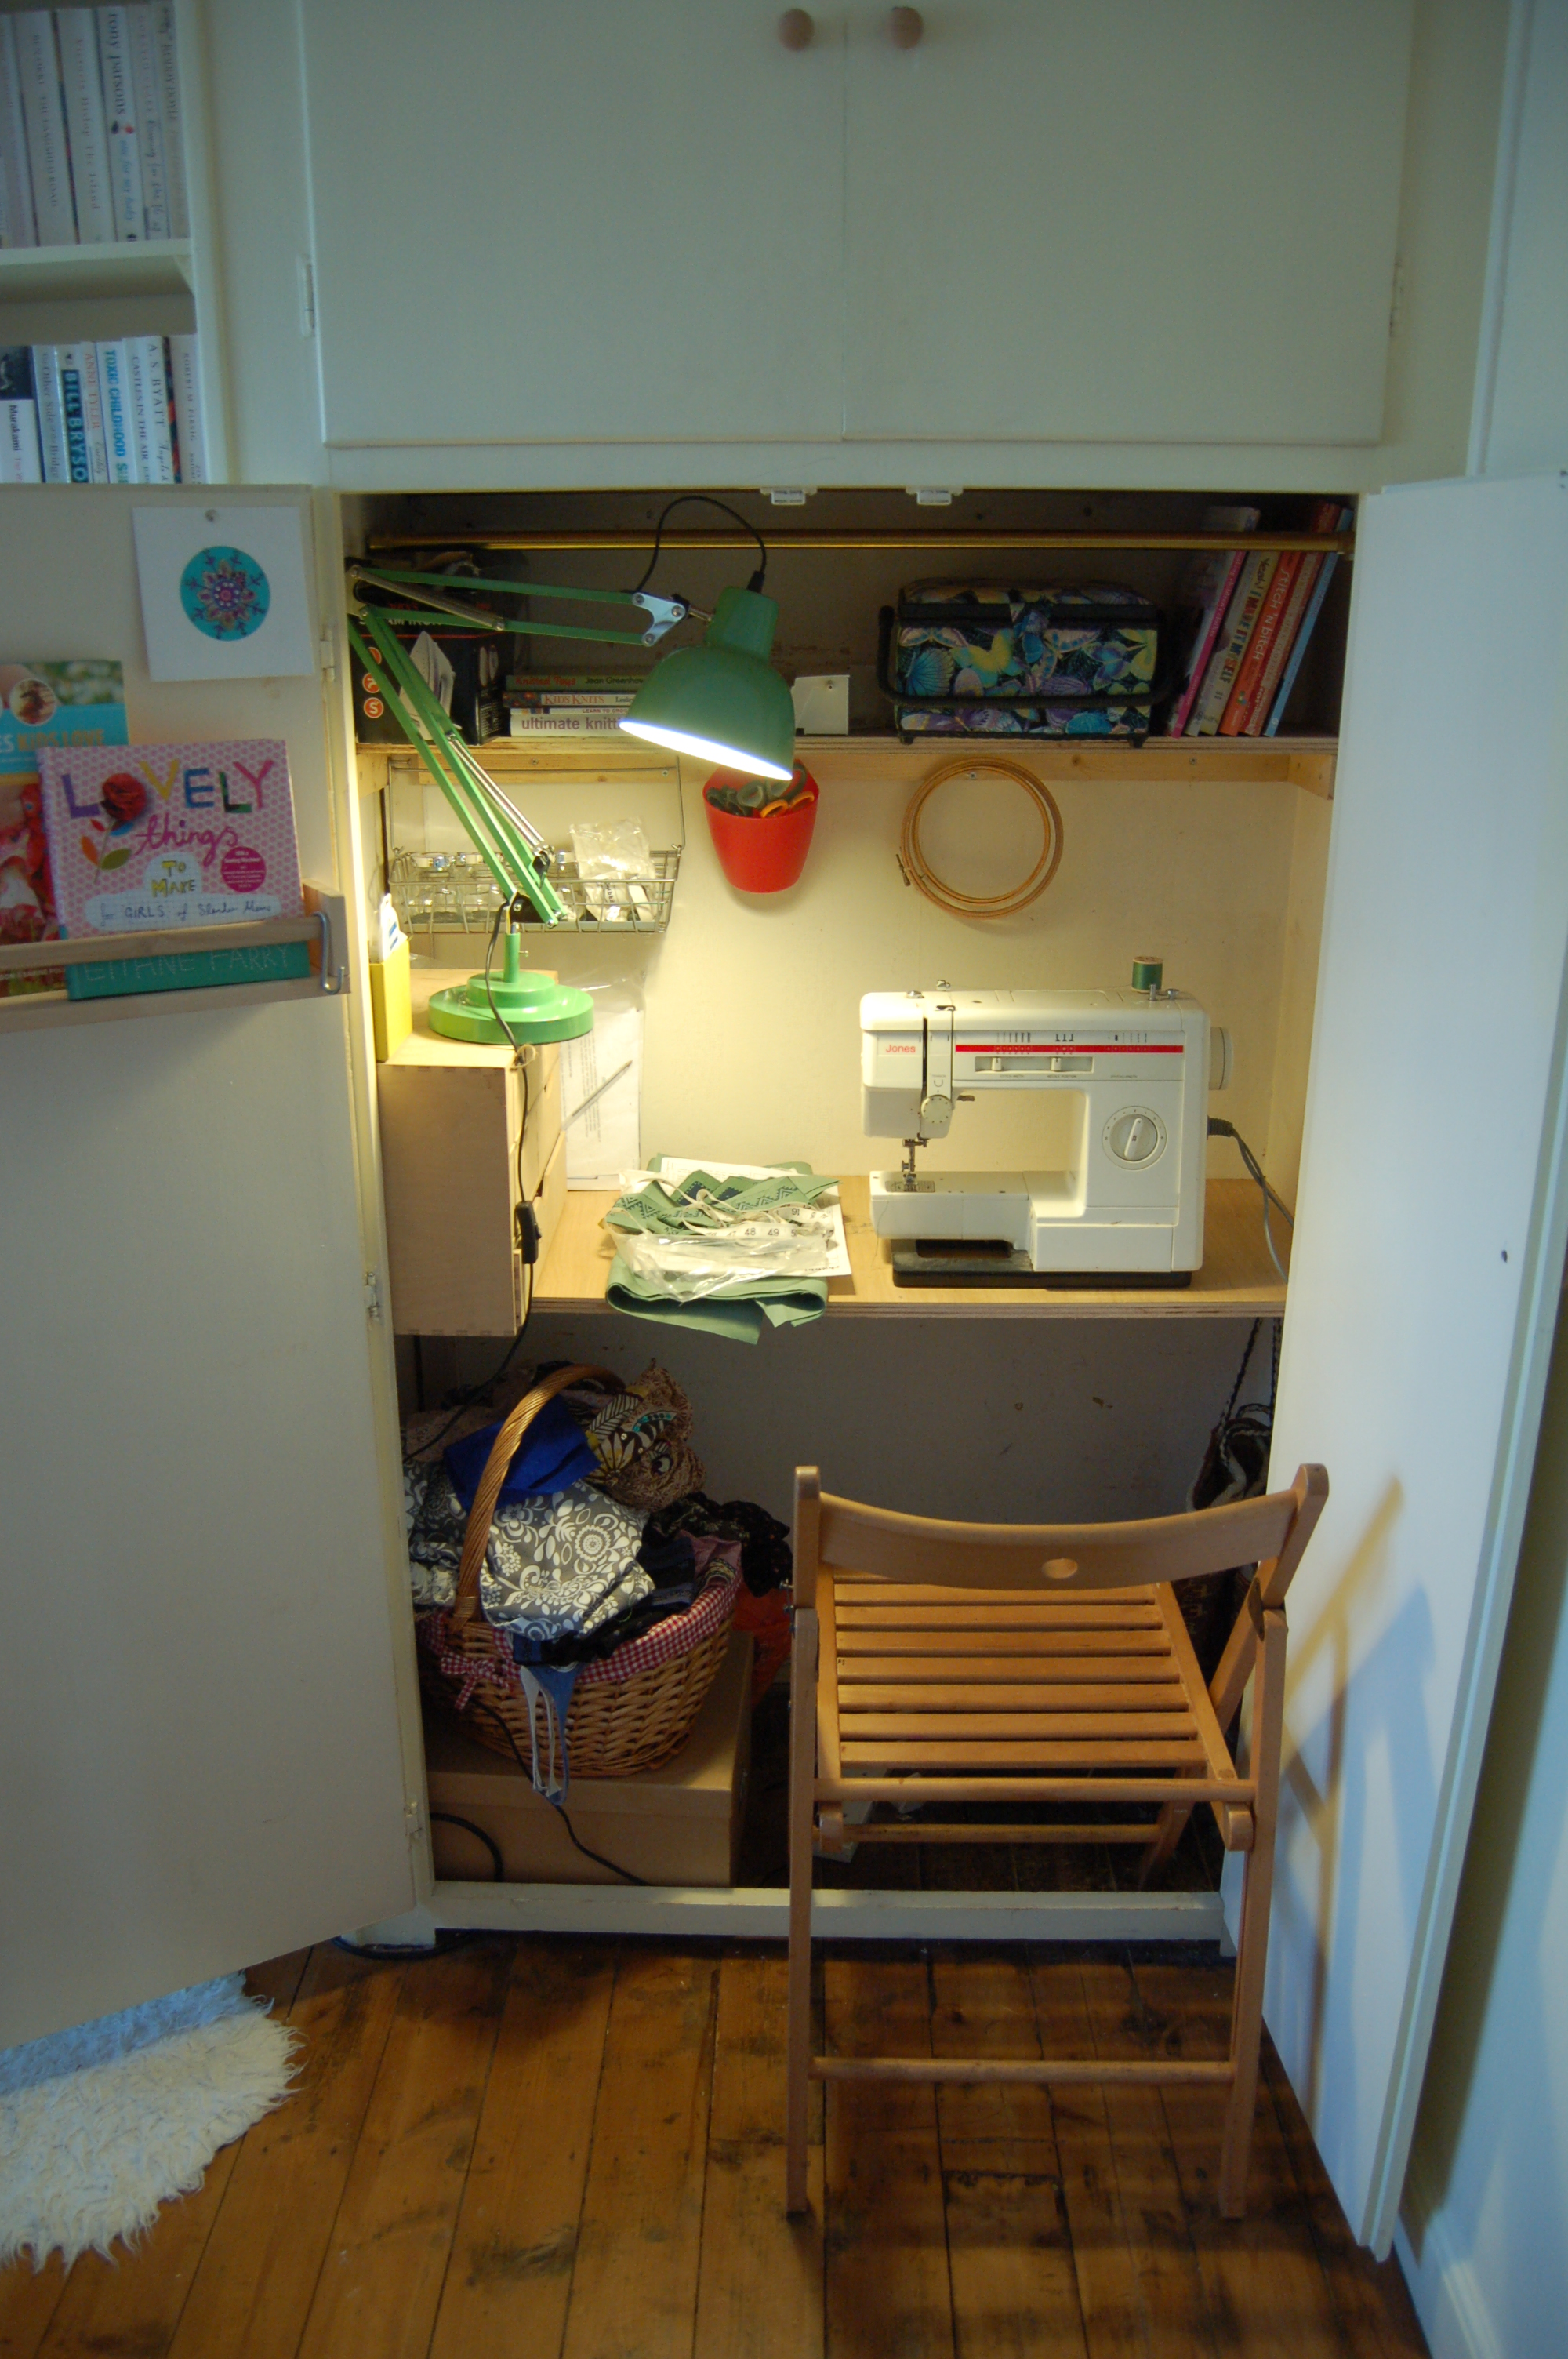
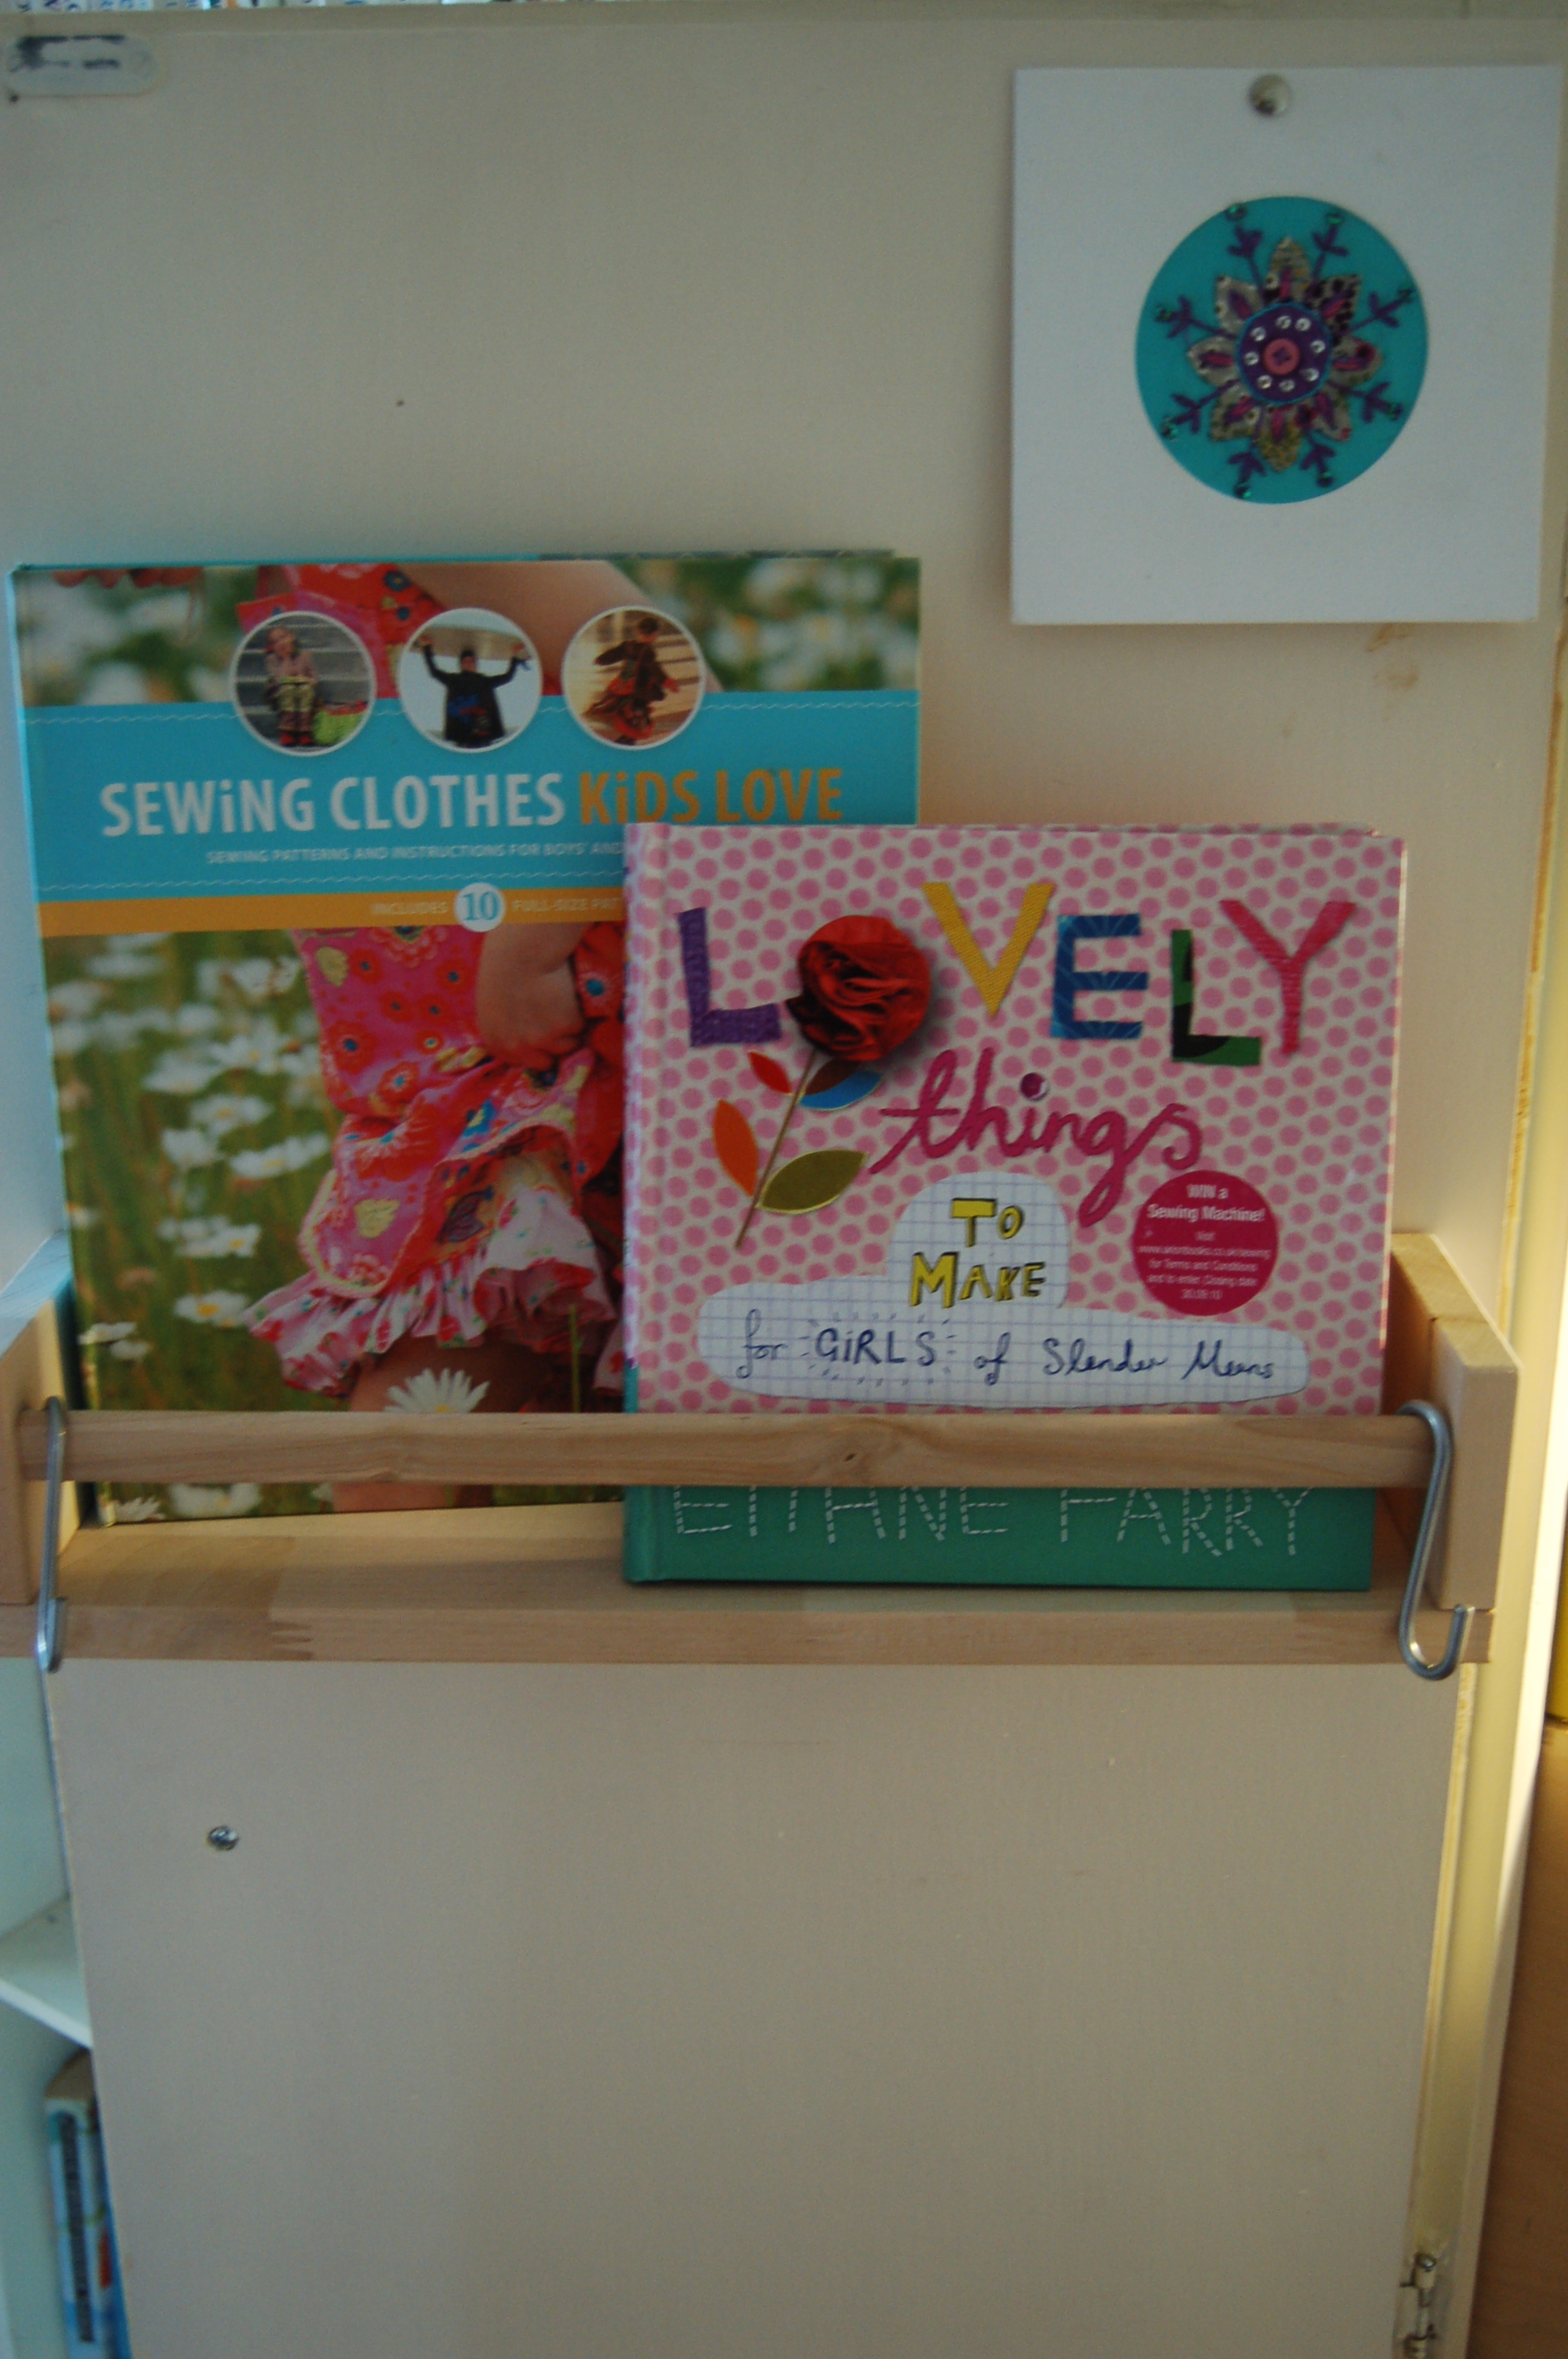
This is the wardrobe I am using. The colour-coded book shelf on the left of the wardrobe is the result of nesting madness undertaken at 9 months pregnant. I do like it though, so it has stayed. The limited book shelf space is helping me curb my habit for secondhand paperbacks too!The second image shows the shoddy use of space in the wardrobe. The boxes, baskets and bags were moved elsewhere.


 11. Implementation plan
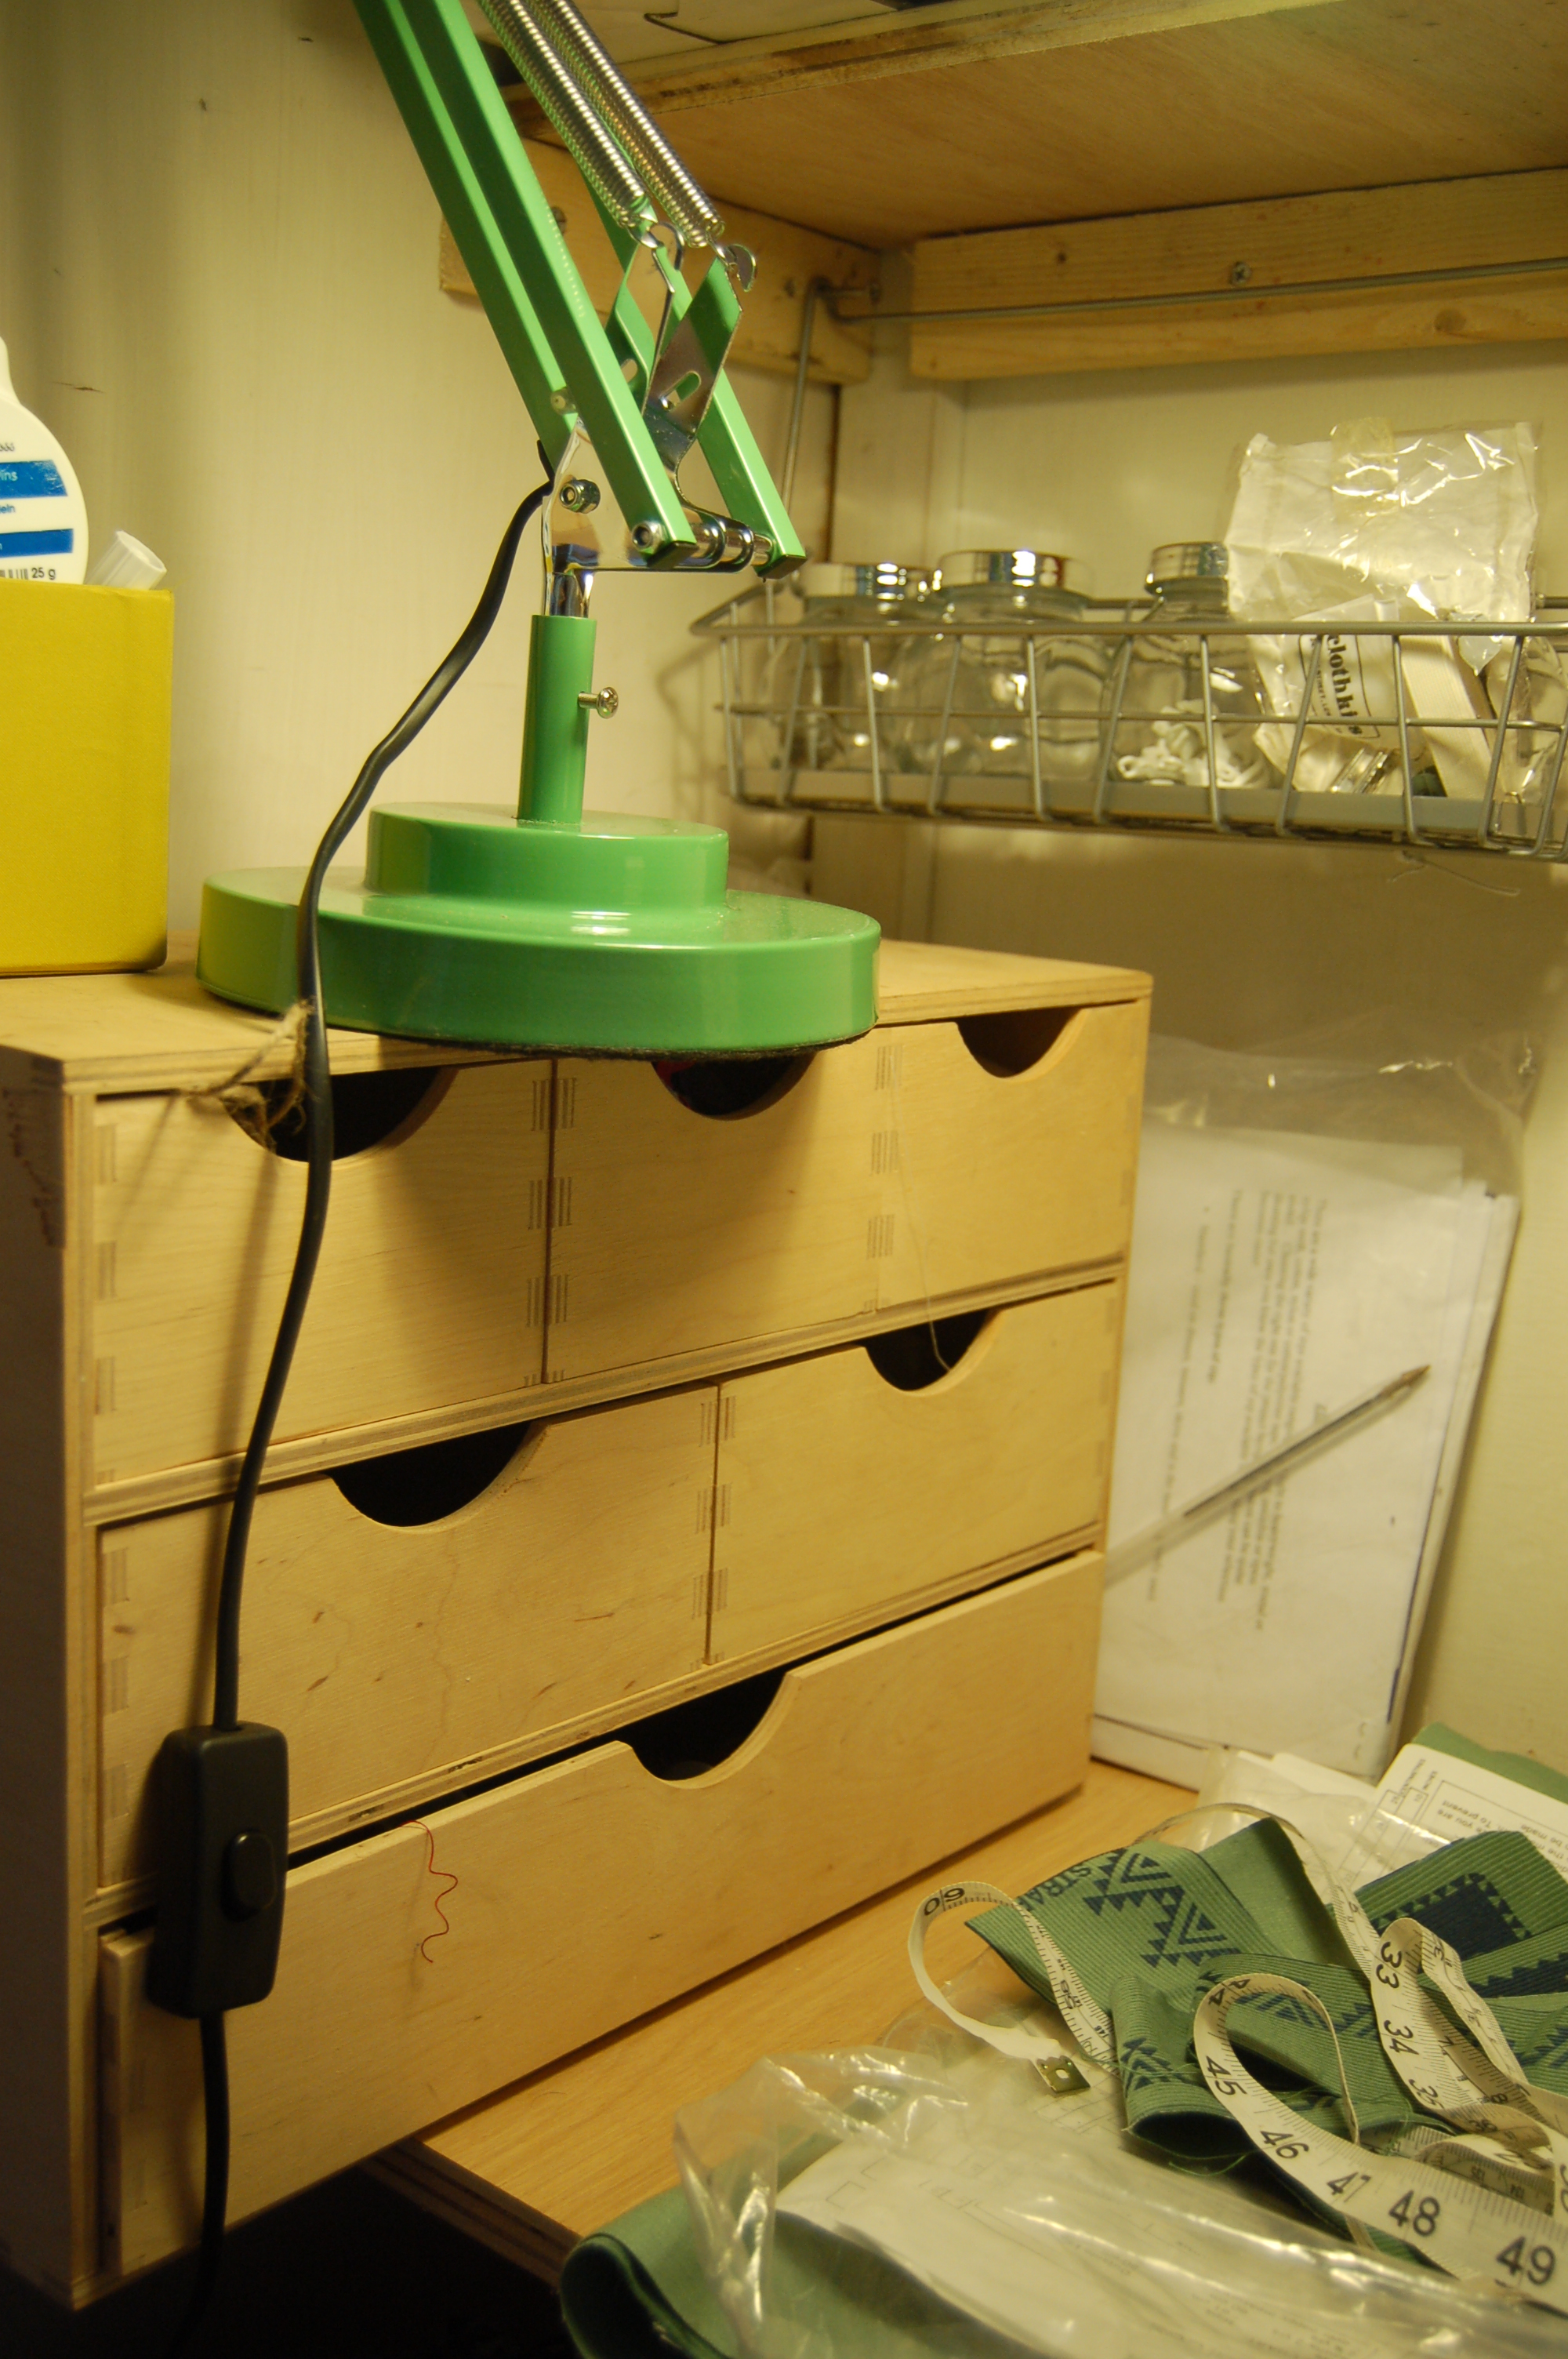
Go and buy wood for the desk and shelving, get this cut to size in the shop. Re-use wood from previous projects to support the selves and the desk. Check that I have suitable screws, rawl-plugs etc. Make desk, make shelves. Find the folding chair. Find the storage for sewing equipment. Buy a desk lamp and light bulb. Put up Ikea spice rack as a book shelve on inside of door. Use the blackboard paint to paint the inside of the other door. Try it out and see how the space works.
12. Implementation
I have now made the space and tried it out, all went well. There are a few niggles which I can sort out pretty easily. I still need to paint the blackboard on the inside of the door.
13. Documentation and maintenance

14. Tweak and 15. Evaluate.
I will come back to these stages after I have used the space for a few weeks.
 I thought I should attempt a first design at this stage to try out some design tools and remind myself of the processes involved. I have been considering for quite a while what this project should be. I wanted something quick and achievable but also for it to be something I genuinely needed to do. So after lots of ideas and various false starts I have settled on this, Designing and making a sewing nook.
I will be going through the stages listed below in this design. They are a bit of an amalgamation of various permaculture design processes. I hope this a suitable approach? It certainly makes sense to me, but I will have to see what my tutor thinks at our first meeting. I would imagine i will tweak this process lots during my permaculture journey, so I think it is good to lay out this starting point in quite a detailed way now.
The design process stages
1. Identify a project. What is the problem and what is the solution?
2. Observations, boundaries and resources
3. Client interview or personal brainstorm
4. Research
5. Functions, elements and systems
6. Integration of elements
7. Practical considerations
8. Base map
9. Apply Permaculture ethics and principles
10. Working design
11. Implementation plan
12. Implementation
13. Documentation and Maintenance
14. Tweak
15. Evaluation
Phew, that looks like a lot! Some of those stages will be very brief and others far more involved. Also a land based project would differ greatly from one which is non-land based (for want of a better description!) Also I think the timing of creating the base map would differ if this was a land based project.
1. The problem and the solution.
The problem- I need a space in our house where I can store and use my sewing machine, materials, books and on-going projects.
The solution- Transform an underused build-in wardrobe into a sewing nook.
2. Observations/boundaries/ resources and 3. Client interview or personal brainstorm. I currently use my sewing machine on the kitchen table but this is not ideal. Each time I want to do anything I have to go through the following stages; go upstairs, carry the heavy machine and sewing boxes downstairs, find my material, pattern, scissors etc from wherever I stashed them the last time. Clear the kitchen table of breakfast debris, toys, school books and half drunk cups of tea. Find a suitable extension lead and unplug other gadgets to plug it in. Trail the lead across the kitchen floor, creating a trip hazard and fun-filled danger game for my children. A long and boring process, this takes at least ten minutes. Then I can work well in the kitchen for approximately 4 minutes before baby S wakes up/ E needs help with homework/ C needs a snack. I then have to reverse the process and pack up, getting more and more frustrated each time.
So, what I really need is somewhere I can leave the sewing machine and associated kit set up with current projects close at hand. Then when I do have a brief window of time to get creative, I can dive straight in and be productive. I would also like to have my pattern/ sewing/ embroidery/knitting books close at hand and space to stick up images, patterns and notes.
I need to keep all of this equipment away from the children and make sure that they can not access it unsupervised. There are lots of potentially dangerous items (pins, scissors, seam ripper, knives etc) plus it is rather annoying for me if the threads get tangled up, materials gets appropriated for dressing up and pattern pieces get mixed up.
We are short on space in our house, five people in a three bed semi. So it needs to be small space and something already in the house, ie, there is not space for a new desk to be dedicated for sewing.
I have £50 available for this project to cover everything. Other than that small amount of cash, I’d like to re-use items already in the house. I am happy to check out charity shops, car boot sales etc for storage solutions. I have some blackboard paint left over in the shed. We have a folding chair that could be of use. We have various pieces of timber knocking around.
I do not have much time available to devote to this project. The build needs to be simple. I would like to do the majority of it myself but my husband, J, is happy to lend his carpentry skills as and when they are needed! I would like the sewing nook to be up and running asap so that I have time to complete sewing projects for Christmas presents.
4. Research I have been introduced to Pinterest, yet another way of wasting precious time browsing the internet! But it is great! I searched for sewing stations and got lots of images for inspiration. Click the link to take a look at my board. My Pinterest page
5. Functions, Elements and Systems 
My research and consideration of elements and systems led me to decide upon using a built-in wardrobe in our bedroom and turning this into the sewing nook.
6. Integration of elements
7. Practical considerations SWOC
Strengths – The wardrobe is already there. The doors can close and secure the station from the children and keep it self-contained and tidy. The sewing machine can be stored there permanently.
Weaknesses – The wardrobe is full of clothes that i would need to re-locate. The room is north-facing and the wardrobe is located in the corner furthest away from the window, so it would be very dark. It would be very important to get the lighting right.
Opportunities- A space in the house that is just for me! I could use it as a desk for permaculture diploma work too. Provides a chance to leave projects out to return to when I have a chance. Keeps all my equipment and materials together and out of the way.
Challenges – Do I have the woodworking skills to make this or can I get help from J or others? Would it be possible to make a fold-out table? How do I get the lighting right? How do I get electricity into the cupboard for the sewing machine and lights?
More to follow as soon as I have the time……..

The chickens have dug up all my onion seedlings for the second time. I hate planting out onions, it is fiddly and time-consuming. Then the blumming chucks escaped from their run and happily dug over the bed, sending seedlings flying and ruining all my hard work.
Rather than shout, stamp around and curse over having to replant the onions, I have decided to ‘Accept feedback’ and ‘be open to modify dysfunctional behaviour’
Planing onions just outside the chicken run is obviously not my best ever idea. If the chicken do escape, this is the first thing they see and they hang out here going wild with delight at their temporary freedom. I will learn not to plant anything tempting here and actually, why do I bother to plant onions anyway? They never grow very big, taste exactly the same as shop brought ones and are cheap as chips to buy. I will concentrate my efforts elsewhere!
Permaculture lesson for the day learnt!
 Today I have had agreement from Hannah Thorogood that she is willing to be my tutor. I have paid my deposit and set up my direct debit to pay for the diploma. The next step is to have an induction meeting with Hannah and any other new diploma students she is taking on. It would be good to have some people to guild with locally. I am really excited to be making a proper start on my diploma at last!
